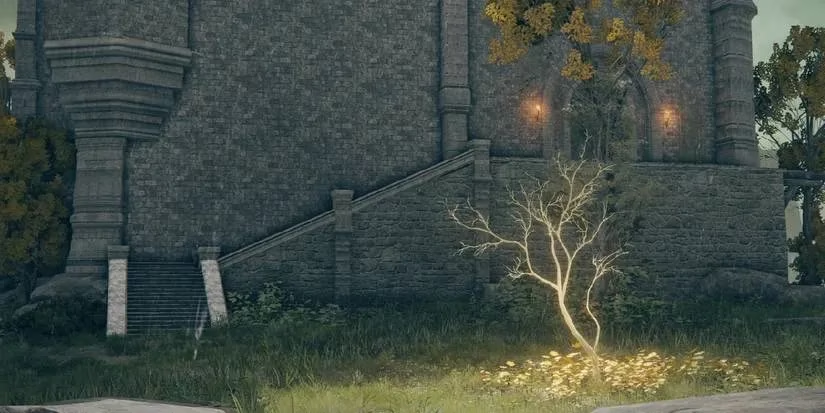
Ah, the Crucible Axe Armor Set. It's the kind of fashion statement in the Lands Between that makes other Tarnished look like they're dressed in potato sacks. You've likely seen its imposing silhouette from afar, worn by a Crucible Knight boss in the Stormhill Evergaol, taunting you with its ancient, tree-bark-like texture and majestic horns. But to claim this legendary ensemble for yourself, you must undertake a pilgrimage worthy of the first Elden Lord's own knights. The journey begins not in the humble lands of Limgrave, but far to the north, on the sun-drenched, golden heights of the Altus Plateau. Your destination? The treacherous and trap-laden catacombs known as Auriza Hero's Grave, a dungeon that treats the unwary like a pinball treats a flipper—with relentless, bone-crushing force.
🗺️ Navigating to the Grave's Entrance
Getting there is half the battle, and it's a battle against boredom, giant arrows, and surprisingly territorial wildlife. Start your trek from the Outerwall Battleground site of grace. Head east, up a slope into a vast, melancholic graveyard that feels less like a resting place and more like a waiting room for your next death. At a fork, hang a right, heading southeast. Now, keep your head down—or rather, keep moving—because Golem Archers ahead are practicing their aim, and you're the bullseye.
Follow the path down into a watery ravine, slip under a bridge, and emerge into a clearing. Here, you'll find the entrance, guarded not by a dignified knight, but by the local fauna. A regular bear and its much larger, angrier cousin, a Rune Bear, patrol the area. Dealing with them is like trying to reason with a tornado; sometimes it's best to just sprint past. The entrance itself is an imposing stone structure, a maw waiting to swallow the brave and the foolish alike.
⚔️ Preparing for the Gauntlet
Before you charge in, a word to the wise: upgrade everything. Your weapon, your Spirit Ash summon, and your sanity. Auriza Hero's Grave is not a minor dungeon; it's a full-course meal of pain. Ensure you have a Stonesword Key to unlock the door. If you're feeling clever, seek out Patches and purchase Margit's Shackle. While useless against the bosses here, it has a hidden party trick: it can trigger traps from a distance. In this dungeon, that means making the deadly, insta-kill chariots crash into each other and explode, which is not only satisfying but also rewards you with the Tree Sentinel Armor and the Ash of War: Holy Ground.
🏺 Inside the Death Maze
Once inside, you'll discover Auriza Hero's Grave is less of a tomb and more of a sadistic theme park ride designed by a mad engineer. The main feature is a series of Chariots that thunder down narrow corridors, flattening anything in their path. Navigating this requires the patience of a saint and the reflexes of a caffeinated cat.
-
Watch for hidden passages: The walls here are as deceptive as a politician's promise. Smack them or roll into them to reveal secret rooms and alternate paths.
-
Timing is everything: Learning the chariots' patrol routes is crucial. A mistimed step turns your Tarnished into a pancake.
-
Return later: If it feels overwhelming, it's okay to leave and come back. Exploration in a calmer state of mind can reveal secrets you missed while running for your life.
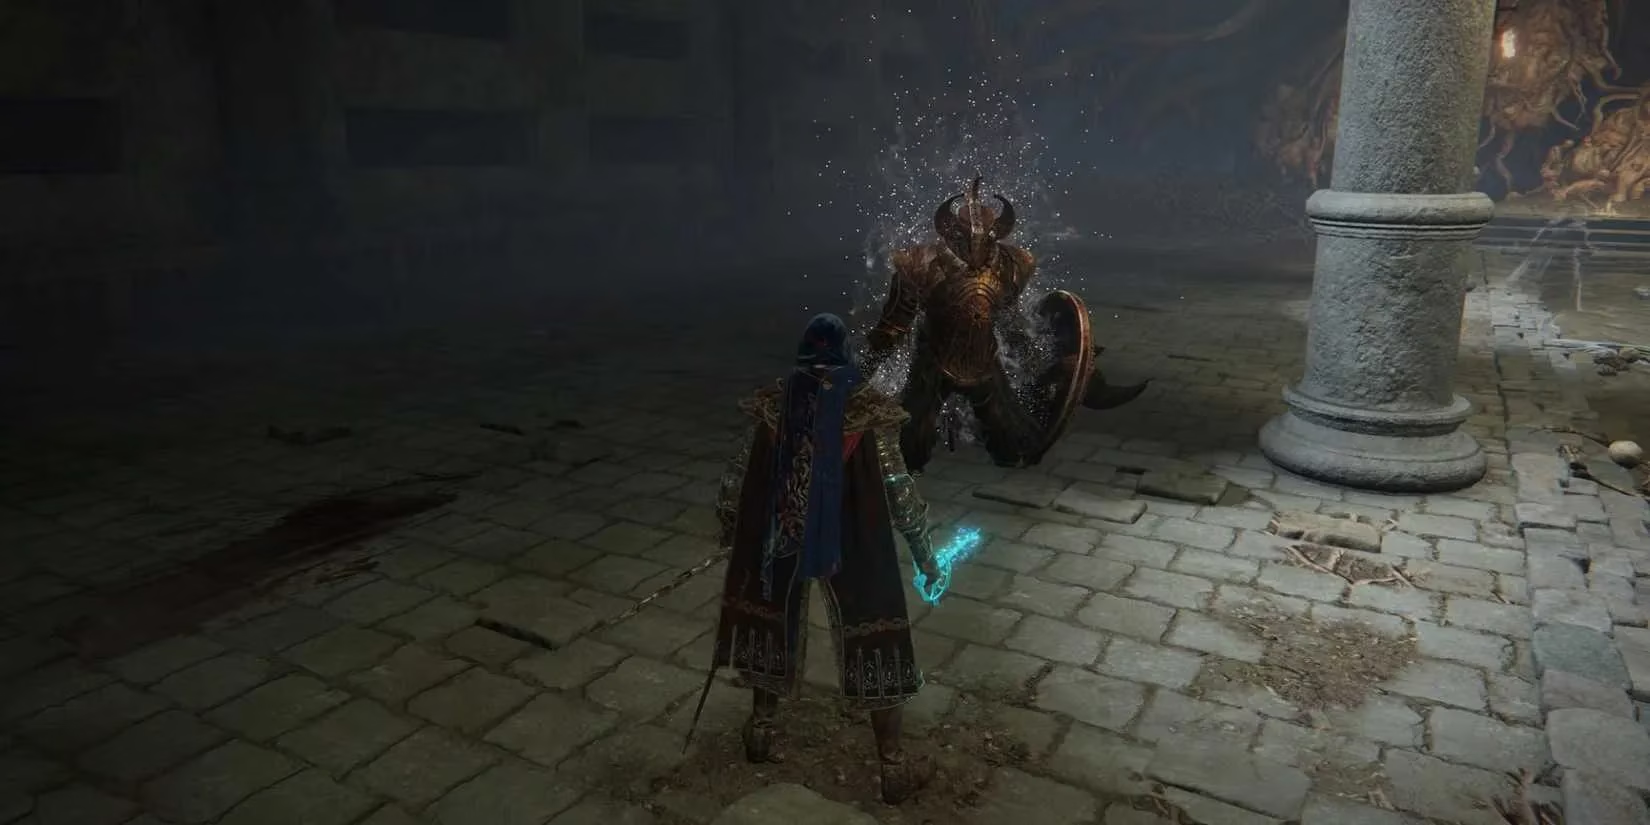
👑 The Dual Bosses: Crucible Knight Ordovis & His Lesser Kin
After surviving the chariot gauntlet, you'll reach the boss fog. On the other side awaits one of the game's most punishing duos: Crucible Knight Ordovis and a Lesser Crucible Knight. This fight is a masterclass in controlled chaos, a dance where one misstep means a one-way ticket to the Site of Grace. The arena, while seemingly large, will shrink around you faster than a wool sweater in a hot wash as these two aggressive knights close in.
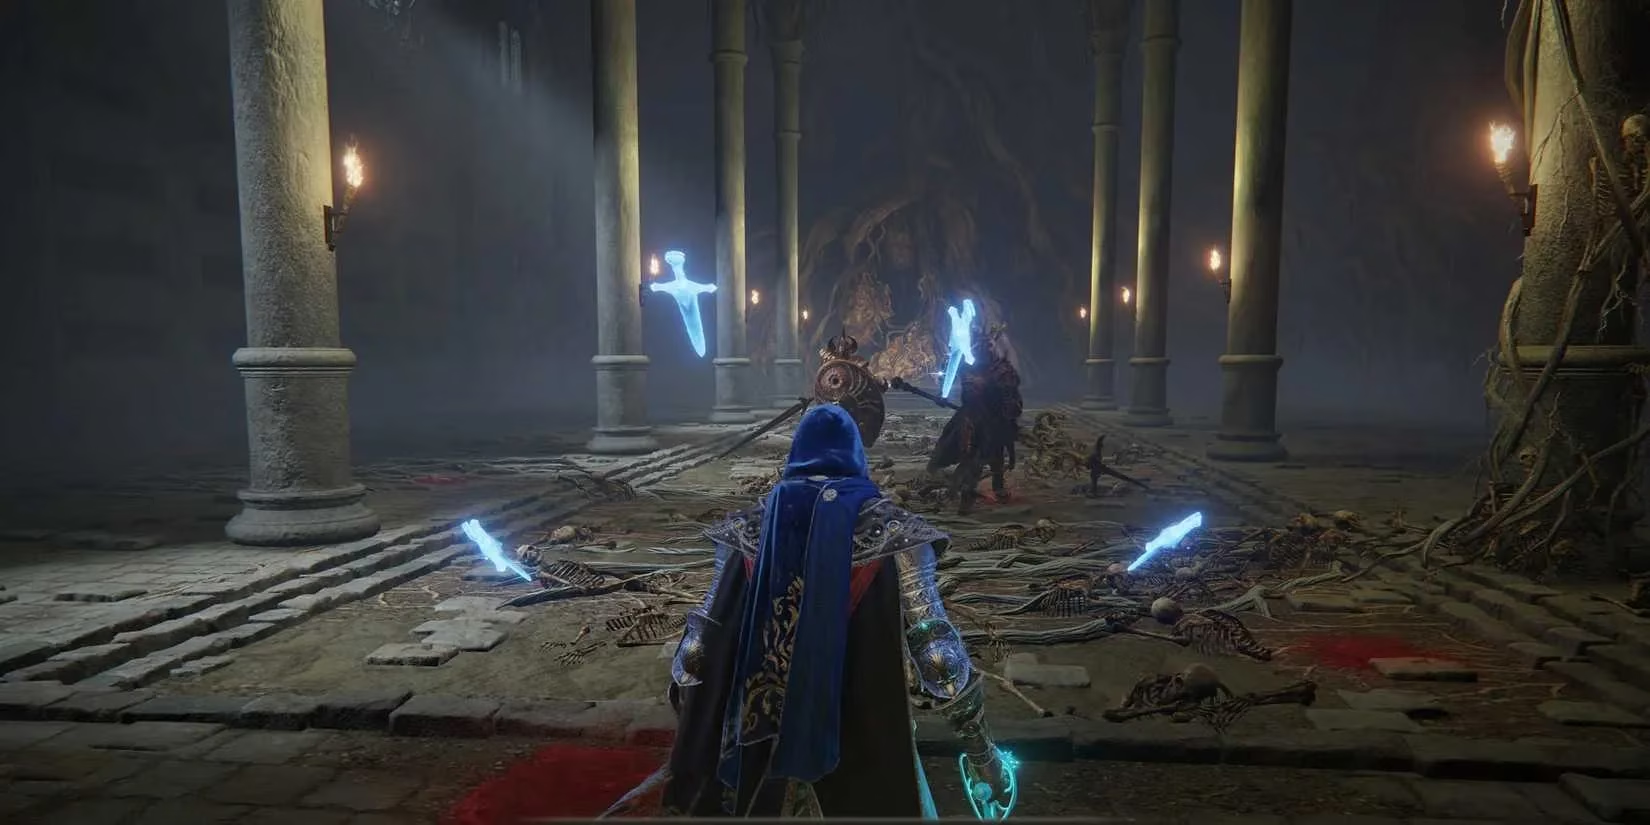
Battle Tactics & Survival Tips:
-
Patience Over Greed: This fight is a marathon, not a sprint. Getting greedy for an extra hit will get you killed. Their attacks hit like a freight train made of holy wrath and will stagger you easily.
-
The Flask Punish: Crucible Knights have a sixth sense for vulnerability. The moment your character raises a Flask of Crimson Tears to drink, they will initiate a lightning-fast lunge attack. Heal only when you've put significant distance between you and them, or behind a pillar.
-
Pillar Hugging (But Not Too Much): Use the stone columns in the room to break line-of-sight and slow their advance. However, don't get too comfortable. Their lunges can sometimes slide them around the pillars with the eerie grace of a figure skater on oil, and their powerful strikes can shatter the columns entirely.
-
Priority Target: The Lesser Crucible Knight: Focus fire on the knight wielding Siluria’s Tree Greatspear. He has less health, and eliminating him turns a 2v1 nightmare into a manageable 1v1 duel. The knights often take turns being the primary aggressor. If Ordovis is momentarily passive, you can chip away at him, but always return your focus to eliminating the lesser knight first.
-
Call for Backup: If the struggle is too real, there is no shame in jolly cooperation! Use a Furcalling Finger Remedy to summon another player. Sometimes, the best strategy is to have a friend distract one knight while you handle the other.
🏆 The Spoils of War
Victory! After what feels like an eternity of dodging, blocking, and dying, you will finally stand triumphant over the fallen knights. Your reward is bountiful:
-
28,000 Runes: A nice chunk of change to level up or buy supplies.
-
Ordovis's Greatsword: A colossal weapon that packs a holy punch.
-
The Crucible Axe Armor Set: The crown jewel of your efforts.
This armor set, worn by the knights who served Godfrey, is more than just metal and cloth. It holds the power of the crucible of life, the primordial form of the Erdtree. Each piece you wear strengthens Aspects of the Crucible Incantations, making your tail sweeps and horn charges even more devastating. But let's be honest, the real reason to wear it is because it makes you look like an ancient, unstoppable demigod. Just be warned: it's heavy. You might need to invest in some Endurance to avoid the dreaded heavy roll, which is about as graceful as a walrus on roller skates.
Here’s a quick look at what the full set offers defensively:
| Defense Stat | Crucible Axe Set Bonus |
|---|---|
| Physical | Very High |
| Vs. Strike | High |
| Vs. Slash | High |
| Vs. Pierce | High |
| Magic | Moderate |
| Fire | Moderate |
| Lightning | Moderate |
| Holy | Moderate |
| Immunity | Boosted |
| Poise | Significantly Boosted |
So, don your new armor, Tarnished. You've braved a death maze and toppled two of the Lands Between's most formidable knights. You now wear a piece of history, a symbol of primordial power that turns you from a wandering nobody into a legend in the making. Just try not to roll off a cliff in it.