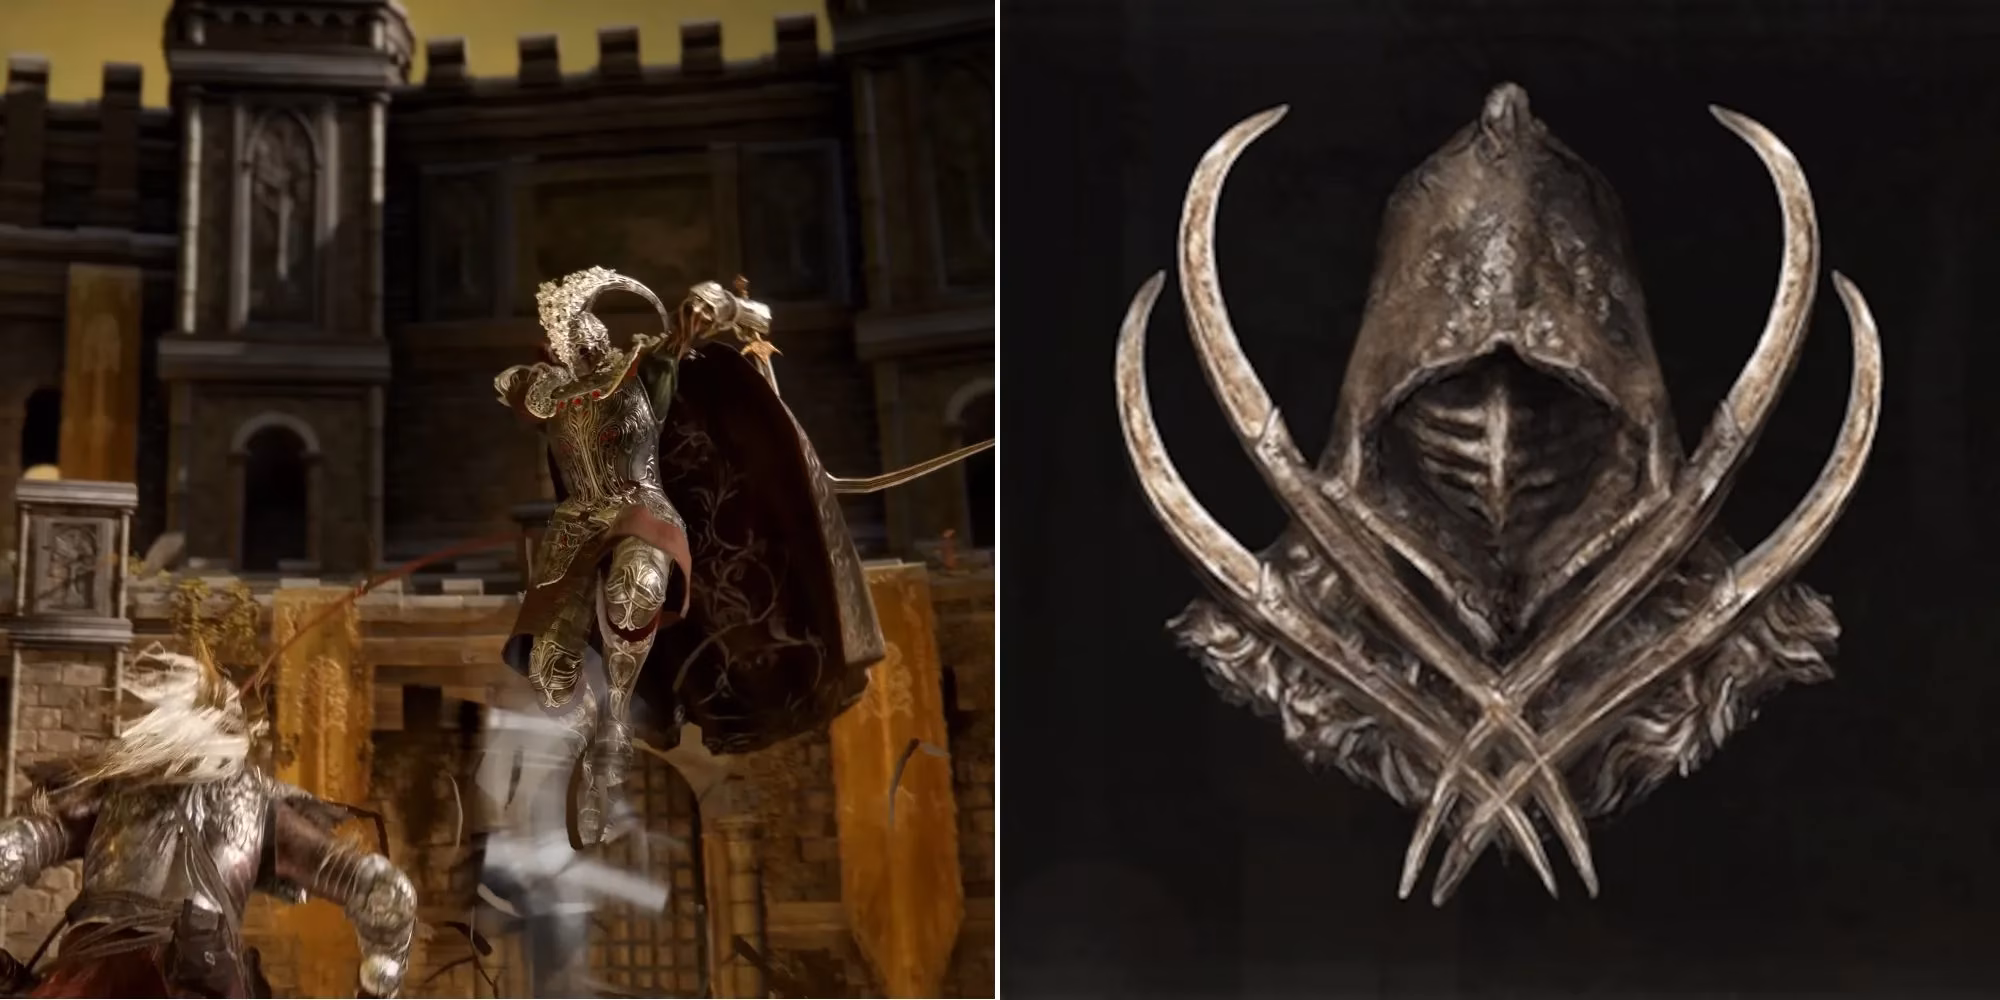
In the treacherous, ever-evolving landscape of the Lands Between, few artifacts command the universal reverence of the Claw Talisman. As of 2026, this unassuming charm remains a cornerstone of meta-defining builds, its reputation only burnished by time. While the Shard of Alexander might bellow with raw, unadulterated power, the Claw Talisman operates with the silent, deadly efficiency of a master assassin's garrote. It doesn't just enhance attacks; it redefines the very physics of aggression, transforming a simple leap into a cataclysmic event. For the Tarnished who have charted every corner of Stormveil Castle, the talisman's acquisition is a rite of passage—a grueling test of platforming prowess that separates the cautious from the truly committed.
🏰 Navigating the Stone Labyrinth: Claiming Your Prize
Securing this talisman is no simple fetch quest; it's a vertical odyssey through Stormveil's crumbling architecture. The primary path is a heart-pounding sequence of faith leaps and precarious balancing acts, a journey that feels less like exploration and more like defying gravity itself.
The High-Risk, High-Reward Path (Fastest Route):
-
Commence at the Rampart Tower Site of Grace. Exit north, into the storm-whipped open air.
-
Immediately scan to your right. Your target is a lower roof, marked by a collapsed white pillar. It appears deceptively close—it is not.
-
This is the moment of truth. Back up, sprint with reckless abandon, and hurl yourself into the void at the ledge's very lip. The jump demands perfect timing; a moment's hesitation results in a pancaked Tarnished on the stones far below.
-
Upon landing, ignore the serene scenery. A weaponized eagle, patient and lethal as a landmine, perches nearby. Aggroing it in these tight quarters is a recipe for a quick, feathery death.
-
Scale the ruined pillar like a spider, using it as a ramp to the stone railing above.
-
Navigate this narrow stone serpent, winding around the tower until it deposits you onto a wider platform.
-
Combat Alert! This area is an ambush. Enemies lurk in the shadows to the left and pretend to sleep to the right.
-
Spot the two staircases with a central ladder. Take the ladder. The talisman awaits on a corpse to the right, a final reward for your aerial acrobatics.
The Deliberate Detour (Alternate Route):
For those who view the initial leap with the same enthusiasm as a root canal, a more methodical path exists. Think of it not as a concession, but as a tactical siege of the tower.

| Step | Action | Key Hazard |
|---|---|---|
| 1 | From Rampart Tower, exit southeast. | None. |
| 2 | Turn right, ascend wooden stairs. | Structural stability. |
| 3 | Through the archway, turn left down a hall. | None. |
| 4 | Find an exit on the right. Before you, a wall with sandbags. | None. |
| 5 | Hop onto the sandbags, then onto the wall itself. | Falling. |
| 6 | Traverse the wall right, then left along a railing to a corner. | Precarious footing. |
| 7 | Leap northeast to the railing of a ruined tower. | The main jump; less demanding than Route 1. |
| 8 | Follow the railing, drop to a roof below. | The Eagle. It's right there! Evade immediately. |
| 9 | Spot a small connecting rooftop to the north, leading to the familiar ruined pillar. | None. |
| 10 | From here, reunite with Step 5 of the main route. | Home stretch. |
⚔️ Unleashing the Beast: Synergies That Shatter Realities
Once equipped, the Claw Talisman bestows a 15% damage buff to all jumping attacks (7.5% in PvP). But its true genius lies not in isolation, but in symphony. It is the conductor that orchestrates builds of apocalyptic force.
Core Synergy Partners:
-
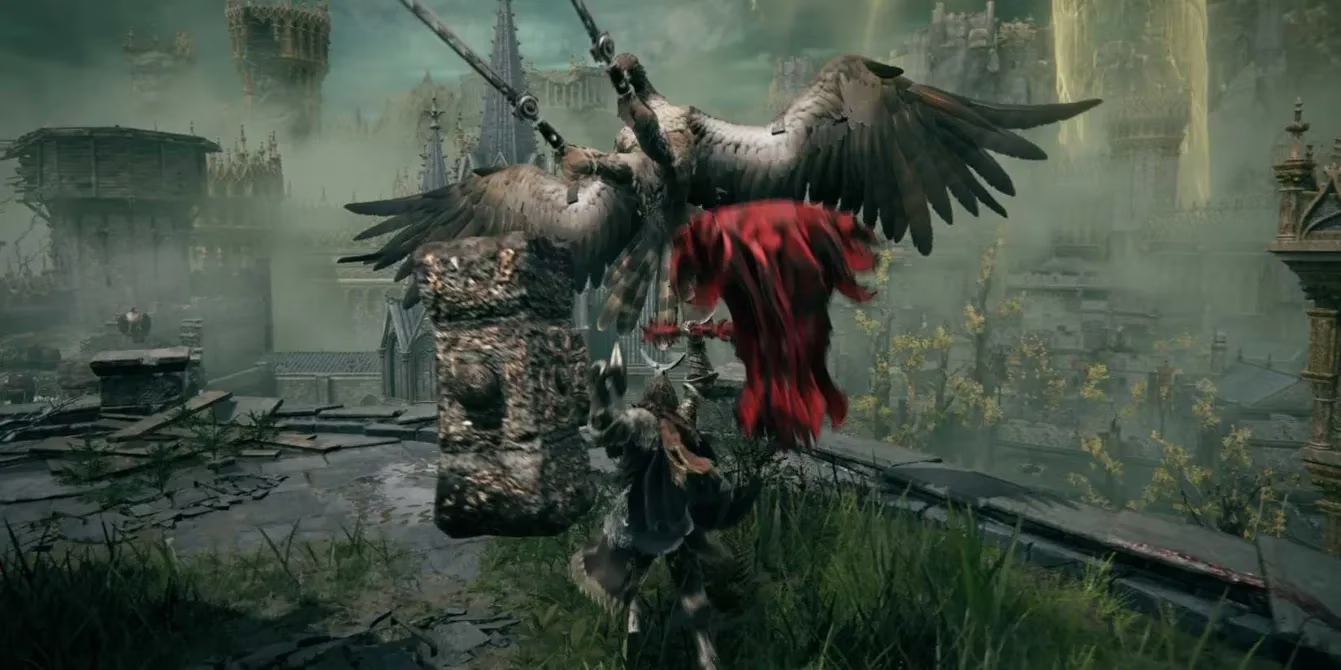
🦅 Raptor's Black Feathers Chest Armor: This is the talisman's soulmate. Together, they form a duo that grants a total 25% jump attack damage increase. Wearing the feathers transforms your jumps from attacks into declarations of war.
-
💥 Power-Stanced Weapons: This is where the math becomes beautiful violence. Dual-wielding colossal weapons like Giant-Crushers or Greatswords turns the jump attack into a seismic event. The talisman's modifier applies to both weapons simultaneously, creating a damage payload as overwhelming as a meteor strike.
Advanced Nuclear Options:
For the Tarnished who seek not just victory, but the absolute evaporation of their foes, layer on more effects. Royal Knight's Resolve Ash of War can be applied to your power-stanced weapons. The sequence is simple, yet devastating:
-
Break the enemy's stance (via parry, spell, or charged heavy).
-
Activate Royal Knight's Resolve (it buffs the next attack by 80%).
-
Launch into a power-stanced jump attack, fueled by the Claw Talisman and Raptor's Feathers.
The result is a single hit that functions less like a weapon strike and more like a localized tear in the fabric of reality, dealing damage numbers so high they seem like a graphical glitch. It turns bosses into mere speed bumps and other players in the Colosseum into fleeting memories.
🏆 The Verdict: A Pillar of the Pantheon
Years after its discovery, the Claw Talisman's status is immutable. It is more than an item; it is a philosophy of engagement. It rewards aggression, precision, and verticality in a game often defined by caution. The journey to obtain it—a gauntlet of jumps as nerve-wracking as walking a tightrope over a volcano—is a perfect metaphor for its use: high risk, monumental reward. In an armory of legendary arms and god-slaying spells, this small talisman carved from claw and bone continues to prove that sometimes, the most profound power comes not from how hard you swing, but from how high you dare to leap. For any Tarnished building for pure, uncomplicated destruction, ignoring the Claw Talisman isn't an option—it's a cardinal sin.