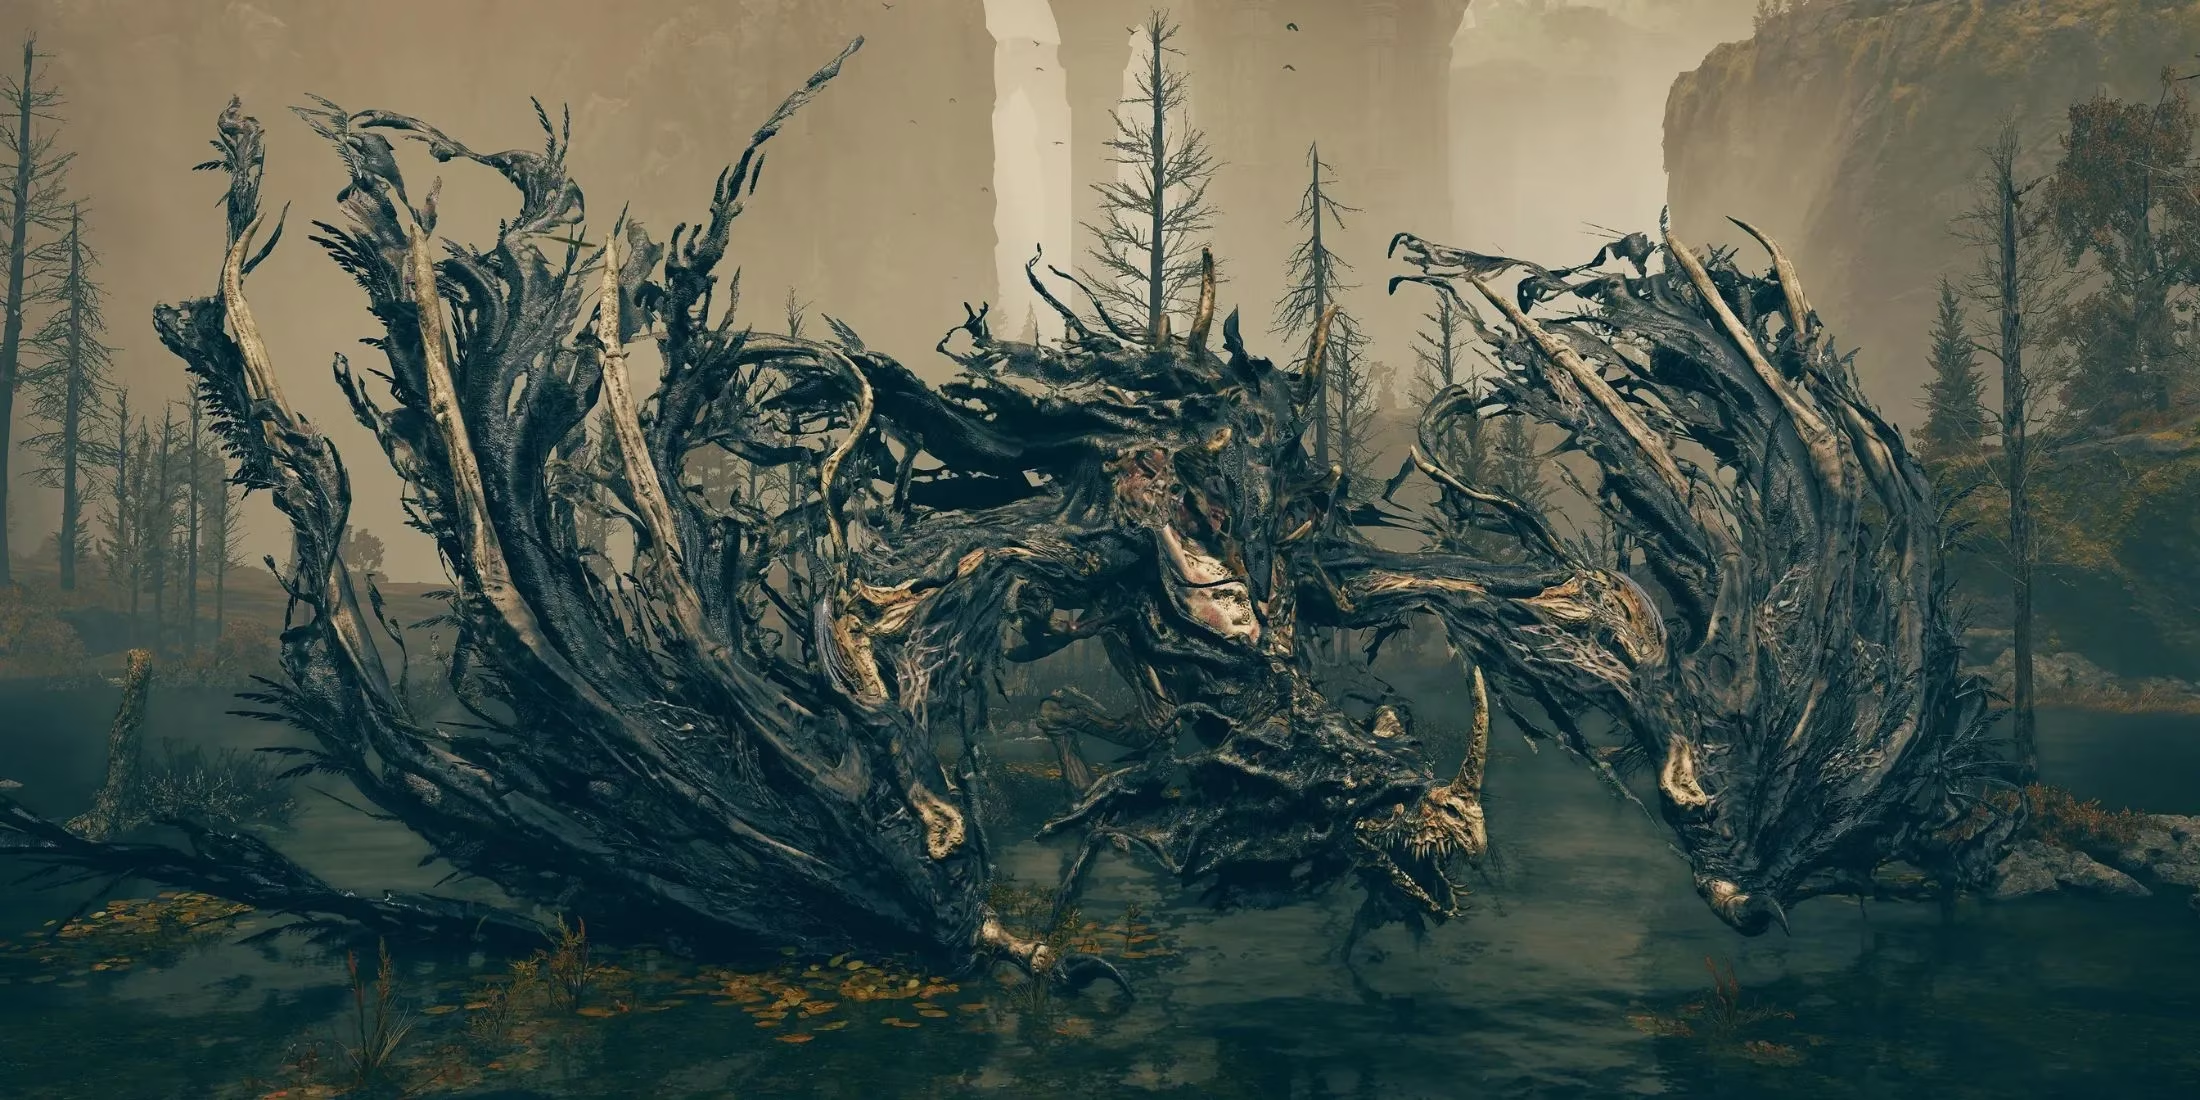
I still remember the feeling of pure awe and power the first time I saw that clip back in 2024. A fellow Tarnished, DaftRaven3754, didn't just fight the fearsome Ghostflame Dragon in the Shadow of the Erdtree DLC—they utterly deleted it. A single, glorious strike, and the beast was gone. It was a masterclass in Elden Ring's deep, intricate buff system, and it completely changed how I viewed the game. Now, in 2026, after countless hours of experimentation, I want to walk you through the philosophy and the exact, overpowered recipe that makes one-shotting even the mightiest dragons not just a dream, but a repeatable reality. It's all about synergy, stacking every possible advantage until your character becomes a living, breathing instrument of divine retribution.

The Core Philosophy: Buff Stacking 101
First things first, let's talk mindset. For a long time, I thought I was playing the game "wrong." I'd rush into boss arenas, relying on dodges and basic attacks. I was ignoring the incredible arsenal of temporary enhancements—the buffs—scattered throughout the Lands Between and the Land of Shadow. The key revelation? These effects stack. You don't have to choose one; you can layer them like a master painter, creating a final masterpiece of destruction. The goal is to combine buffs from different categories:
-
Weapon Buffs: Skills and spells applied directly to your armament.
-
Body Buffs: Incantations or consumables that enhance your entire being.
-
Gear Buffs: Talismans and armor pieces that provide passive boosts.
-
Situational Buffs: Bonuses from stealth, critical hits, or specific conditions.
When all these forces align, the damage numbers cease to be numbers and become pure spectacle.
The One-Shot Arsenal: My Proven Loadout
This is the exact build, refined since 2024, that I use to humble dragons. Remember, preparation is 90% of the battle.
| Component | Item Name | Purpose & Effect |
|---|---|---|
| Main Weapon | Golden Epitaph | Its unique skill, Sacred Order, is our primary damage dealer. It creates a holy shockwave perfect for catching large foes. |
| Key Incantation | Golden Vow | A non-negotiable body buff. It increases all damage dealt and all damage negation for 80 seconds. The foundation of any serious build. |
| Critical Armor | Gravebird Armor Set (Wings) | Wearing the wings from this set provides a massive boost to jump attacks. Since our final blow is often a leaping strike, this is crucial. |
| Talisman 1 | Sacred Scorpion Charm | Boosts holy damage, which synergizes perfectly with the Golden Epitaph and Sacred Order. |
| Talisman 2 | Ritual Sword Talisman | Significantly raises attack power when your HP is at maximum. For a one-shot attempt, you must be at full health. |
| Talisman 3 | Dagger Talisman (My addition!) | Enhances critical hits from backstabs and ripostes. If you can open with a visceral attack, this multiplies everything. |
| Talisman 4 | Axe Talisman | Increases the damage of charge attacks. Great for alternative setups. |
| Strategy | Surprise Attack | Engaging the boss from stealth, before it aggros, grants a massive opening damage multiplier. This is the secret sauce! |
The Execution: A Step-by-Step Battle Plan
Okay, you're geared up. Let's say we're targeting a Ghostflame Dragon on the Moorth Highway. Here's the precise sequence:
-
Approach in Stealth. 🥷 Crouch, use the environment. Get as close as possible without being detected. Your goal is to start the fight on your terms.
-
Pre-Buff Sequence. At a safe distance, cast Golden Vow. Feel the golden aura surround you—that's the sound of impending victory.
-
The Sacred Order. Hold up your Golden Epitaph and activate the Sacred Order skill. The blade will gleam with accumulated holy power.
-
The Decisive Moment. This is it. While still undetected, sprint towards the dragon's flank or rear. Launch a jump attack. The Gravebird wings flare, the Sacred Scorpion Charm hums, the Ritual Sword Talisman burns bright—all that power focuses into one point.
-
Victory. If your stats are tuned right and you've struck true, you won't see a health bar. You'll see a death animation. The dragon will dissolve into a shower of Runes, and you'll be rewarded with a Dragon Heart and a Somber Ancient Dragon Smithing Stone.
Why This Works & How to Adapt It
The Ghostflame Dragon is notoriously tough, with lethal frost and ghostflame attacks. This build works because it bypasses the entire fight. It leverages the dragon's size and initial vulnerability. But don't think this is a one-trick pony! The principles are universal:
-
Against other large bosses: The strategy remains identical. Target dragons, trolls, or any colossal enemy where you can land a full-power jump attack.
-
Weapon Flexibility: While the Golden Epitaph is stellar, other weapons with high-motion-value skills (like the Giant-Crusher's Endure into a charged heavy) can be slotted in. The buff framework stays the same.
-
Use Your Rewards: Those Dragon Hearts you collect? Don't just hoard them! Trade them at the Cathedral of Dragon Communion for powerful dragon-based incantations, giving you even more tools and buffs for future encounters.
The Community's Legacy
When that original clip hit Reddit years ago, the reaction was priceless. One player joked the hit was so powerful it "deleted the boss from the game files." Another, like my past self, had an epiphany: "This makes me think I've been playing all wrong." That's the beauty of Elden Ring, even now in 2026. It's not just a test of reflexes; it's a sandbox for creative problem-solving. The developers at FromSoftware gave us a toolbox, and it's our joy to discover just how overpowered we can become.
So, my fellow Tarnished, go forth. Experiment. Stack those buffs to the heavens. Turn the terrifying bosses of the Land of Shadow into mere anecdotes of your power. The system is there, waiting for you to break it wide open. Just remember to savor that one, perfect, world-ending strike. 😉