In the vast, unforgiving world of the Lands Between, the Church of Inhibition stands as a beacon for Tarnished seeking specific treasures, yet it is guarded by shadows of pure, unadulterated chaos. The journey there is not a simple pilgrimage but a harrowing trial of evasion, demanding that players navigate a significant environmental hazard—the all-seeing Tower of Madness. While the land is rife with hostile creatures and perilous sorceries, the creeping influence of the madness spell is a unique affliction, an insidious force that gnaws at the mind like a silent, spreading frost, making the acquisition of the cherished Finger Maiden gear a test of both wit and will.
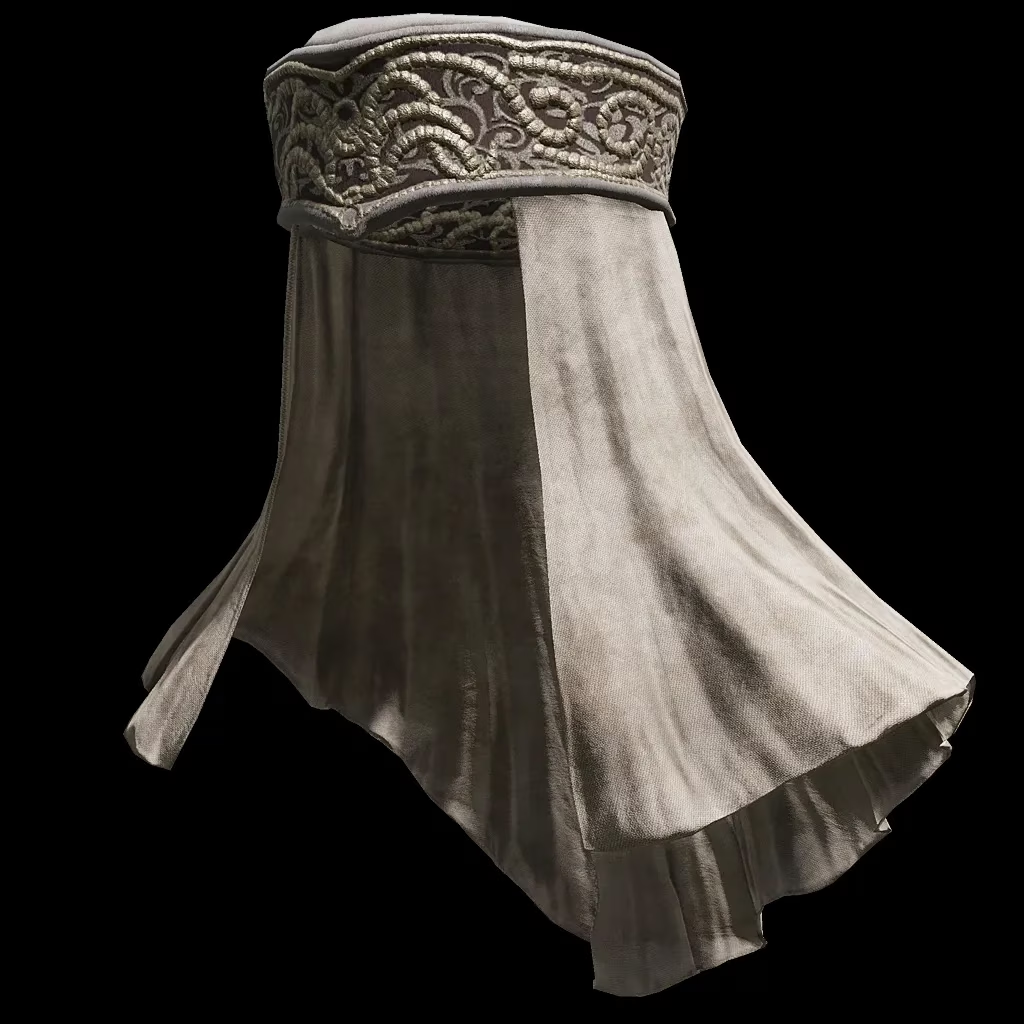
Tucked away on the map, the Church of Inhibition is the final resting place for the complete ensemble of a Finger Maiden: the  Finger Maiden Fillet, the
  Finger Maiden Robe, and the
  Finger Maiden Shoes. To claim this prize, a player must first traverse the blighted Frenzied Flame Village, survive an invader at the church's very doors, and, most critically, devise a strategy to circumvent the Tower of Madness—a structure whose gaze builds a psychic pressure in the mind as inexorably as a vice tightening. The methods for mitigating this threat have been refined, and as of 2026, adventurers have more nuanced paths to silence the tower's flame.
Charting the Path to the Church
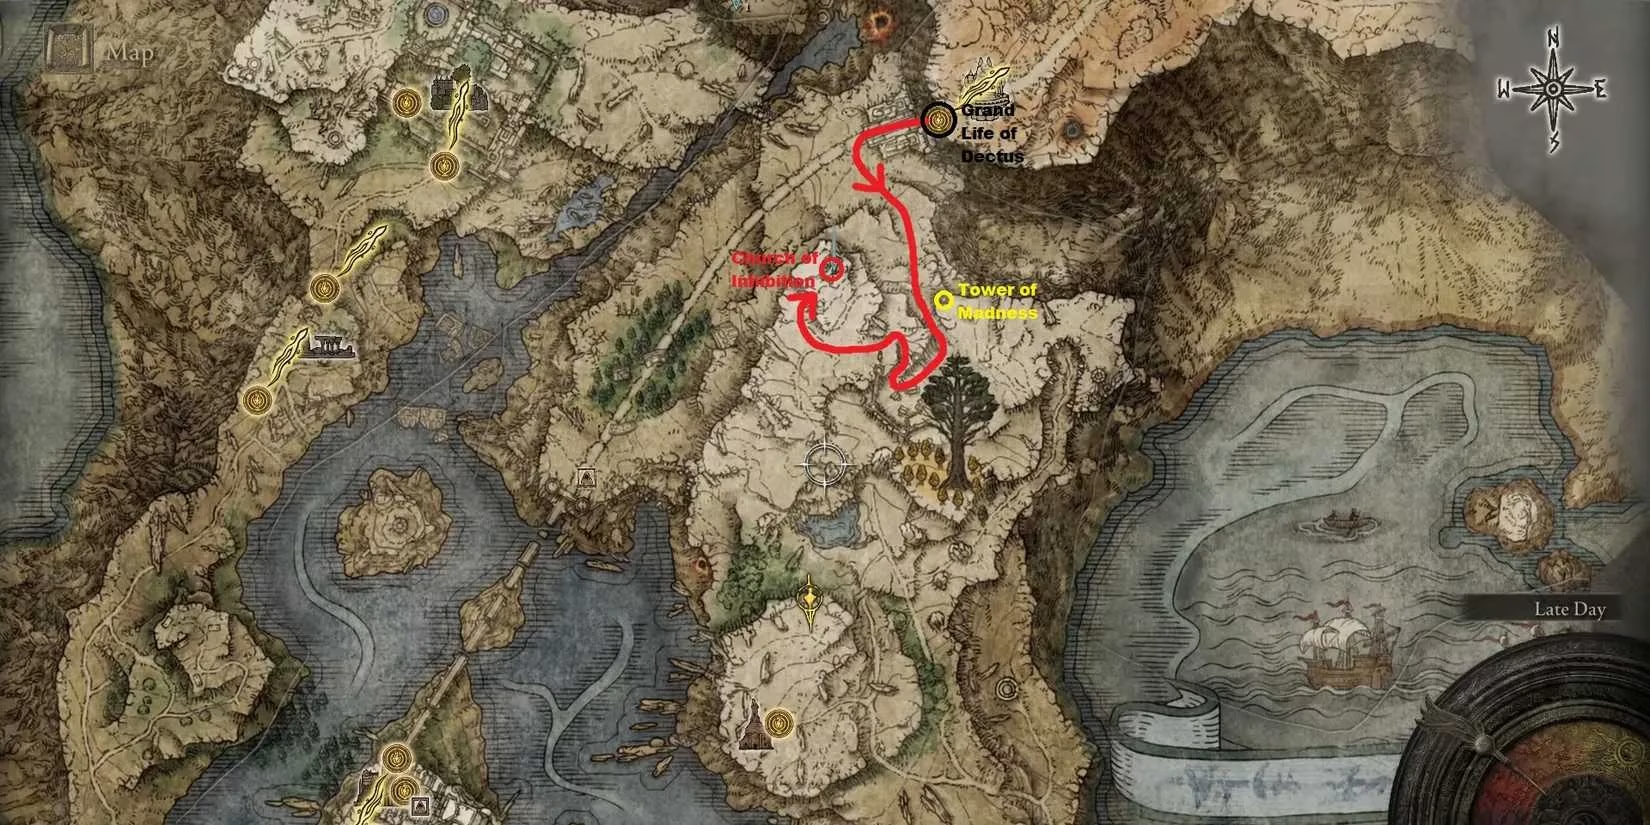
The first step is orienteering. 
The image above clearly marks the destination. From a convenient starting point like the Grand Lift of Dectus Site of Grace, one must journey southeast toward the Frenzied Flame Village, a region saturated with the tower's influence. The invader at the church is a manageable obstacle—often, a deft sprint past the foe is sufficient. The true antagonist, however, is the tower itself, a monolithic threat that cannot be outrun by speed alone.
Silencing the Gaze: Two Paths to Salvation
To neutralize the Madness, players are presented with a strategic choice:
| Method | Description | Best For |
|---|---|---|
| Clarifying Boluses | Craft and consume these items to temporarily reset the Madness buildup meter. | Players who possess the Fevor's Cookbook [3] and have ample crafting materials. It's a reactive, consumable-based approach. |
| Assault on the Tower | Physically ascend the tower, eliminate its guardians, and permanently extinguish the Madness flame. | Players who prefer a proactive, permanent solution or lack the required cookbook. This is the most common route taken. |
Given that the cookbook for Clarifying Boluses is a missable item, the focus for most will be the direct assault, a task that is less a battle and more a surgical strike against chaos.
The Tactical Ascent: A Step-by-Step Siege
The updated, more reliable method for the tower takedown involves precision and patience, not brute force. The goal is to dismantle the tower's defenses with minimal exposure to its primary weapon.
-
The Approach & Initial Lure: From the Grand Lift, ride southeast with haste. There is a stone bridge formation near the tower's base. Position yourself on this bridge—a perfect sniper's perch as natural and overlooked as a tree root curling over a cliff—and equip a bow. From here, you can spot and fire a single arrow at two of the guards patrolling the tower's summit. This will aggro them, causing them to descend and search for you at the base, thinning the ranks above.
-
The Waiting Game: After the lure, retreat to a safe distance and allow your Madness meter to completely deplete. The tower's influence at its base is intermittent.
-
The Infiltration: Sprint to the tower's base where the ladder is located. Be wary: three frenzied rodents and the two lured guards may be nearby. If threatened, you can kite them away before making a break for the ladder. Climb up, but stop just before the top.
-
The Summit Engagement: Wait on the ladder for the two lured guards to climb back up after you. Dispatch them while they are vulnerable on the ladder or in the confined space at the top. Now, observe the Madness flame itself. It pulses with a rhythmic, lethal light, but has a brief cooldown period between activations. Time your final ascent to the very top platform to coincide with this cooldown, when the gaze is dormant.
-
The Final Confrontation: On the summit, prioritize the lone standing guard. Then, turn your attention to the final trio, who are often seated together. Engage them aggressively but carefully; their attacks can be devastating. The madness-afflicted guards can execute a deadly grab, a finisher that lands as swiftly and unexpectedly as a trapdoor giving way. Eliminate them all.
Upon the death of the final guardian, the ominous orange flame atop the tower will sputter and die permanently. This victory is lasting; the guards will not respawn after resting at a Site of Grace, making the Church of Inhibition and its treasures finally accessible. The Finger Maiden set awaits within, a quiet reward for having navigated a storm of insanity. For the Tarnished, it's a lesson that in the Lands Between, sometimes the greatest loot is guarded not by a dragon, but by an idea—and ideas must be killed with cunning, not just steel.