You know, exploring the vast, treacherous lands of the Lands Between, I always had my eye on that massive Living Jar up in northern Caelid. From the cliffs near the Minor Erdtree, it looked so imposing, guarding its arena. I just had to figure out how to get down there. It felt like a secret waiting to be uncovered, a personal test from the world itself. And let me tell you, the journey and the challenge were unforgettable, culminating in one of the most useful talismans for any Tarnished who loves their fashion and function.
The path to the Great-Jar is a journey in itself, a winding descent that starts far from where you'd expect. Even though the jar stands in Caelid, you actually begin your trek in the Mistwood of Limgrave. I remember finding that strange, circular building near the base of the Minor Erdtree there. Inside, an elevator waits to carry you deep underground to the Siofra River Well.
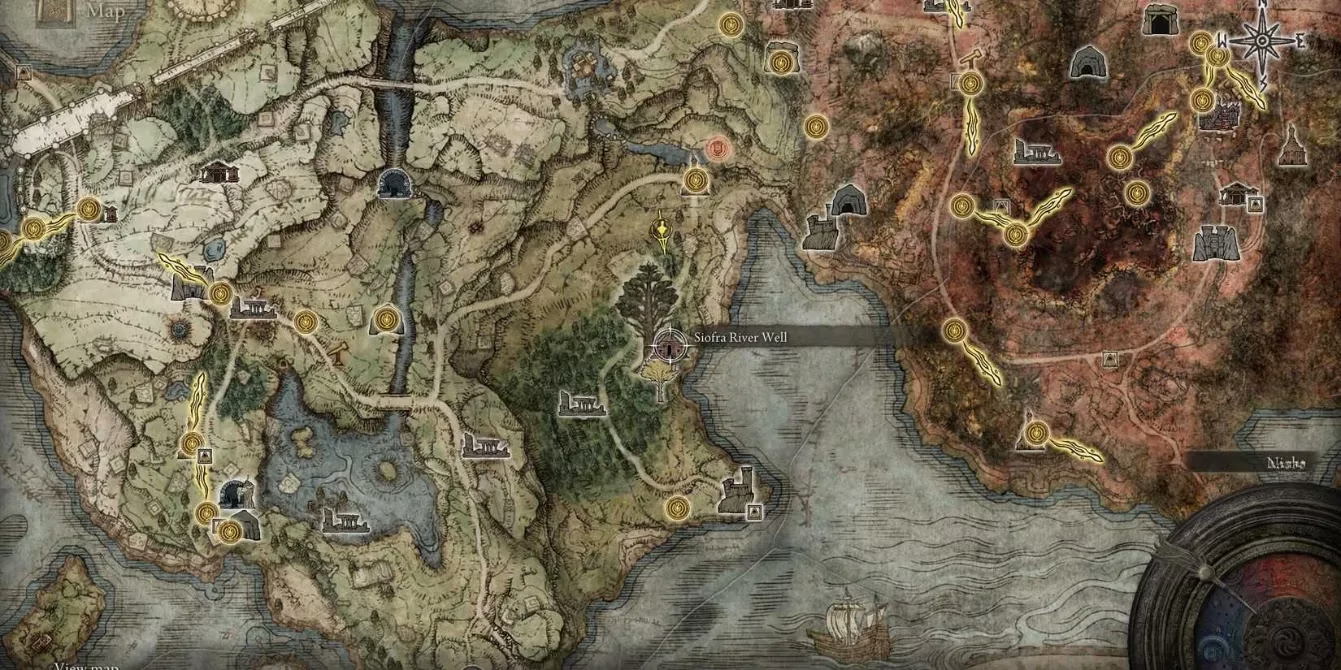
Navigating Siofra River is always an eerie experience. I pushed north, past the silent Claymen and under the star-lit sky of the cavern. My goal was the far northern end, a trek that took me past Ancestral Followers, dodging lightning orbs, and giving wide berth to some very territorial giant crabs. Finally, at the northernmost point, I found another elevator platform, this one sealed by an imp statue. It required two precious Stonesword Keys to activate. Using them felt like a gamble, but the ride up was worth it, depositing me into the massive chasm that cuts through the heart of Caelid, northwest of Sellia, Town of Sorcery.
From there, I headed west. A quick rest at the Deep Siofra Well site of grace was essential before continuing. The path through the chasm is no joke—watch out for those exploding enemies! They can ruin your day in an instant. Further along, I encountered the guardians of the path: two Golem Archers. My strategy? Engage the first one closely so the second can't get a clean shot. Taking them down not only clears the way but also fully restores your Crimson Tears Flasks, a much-needed blessing before the main event.
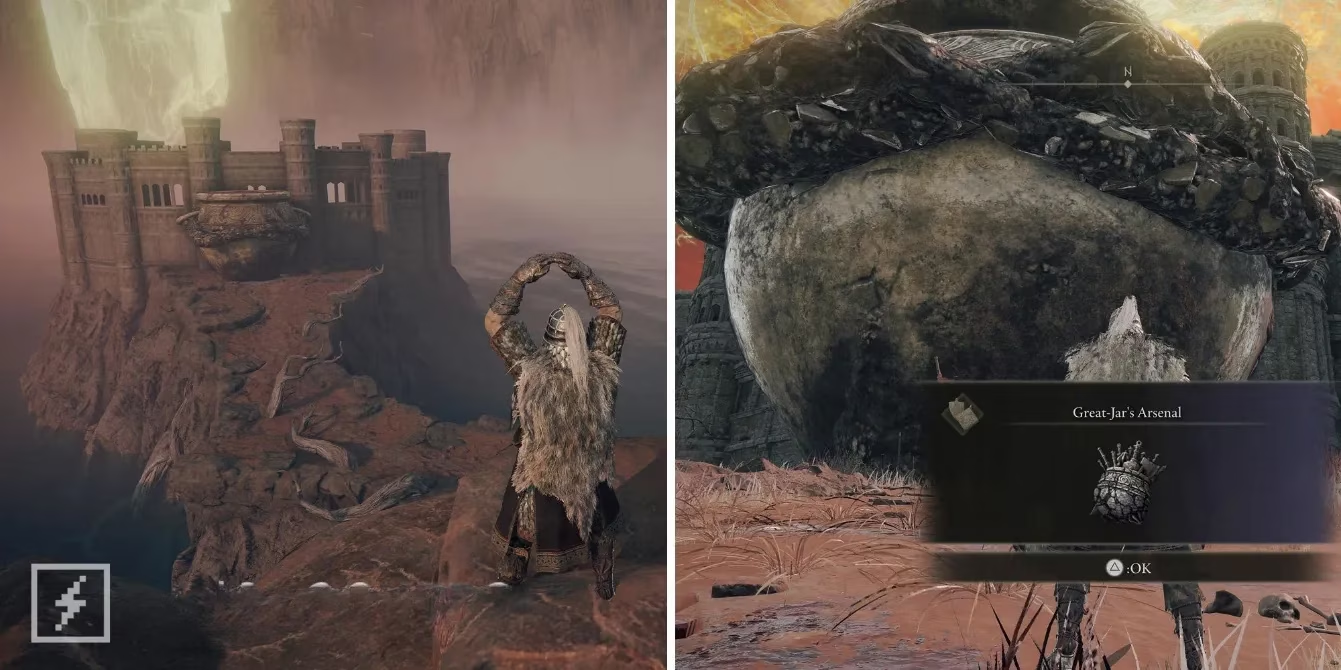
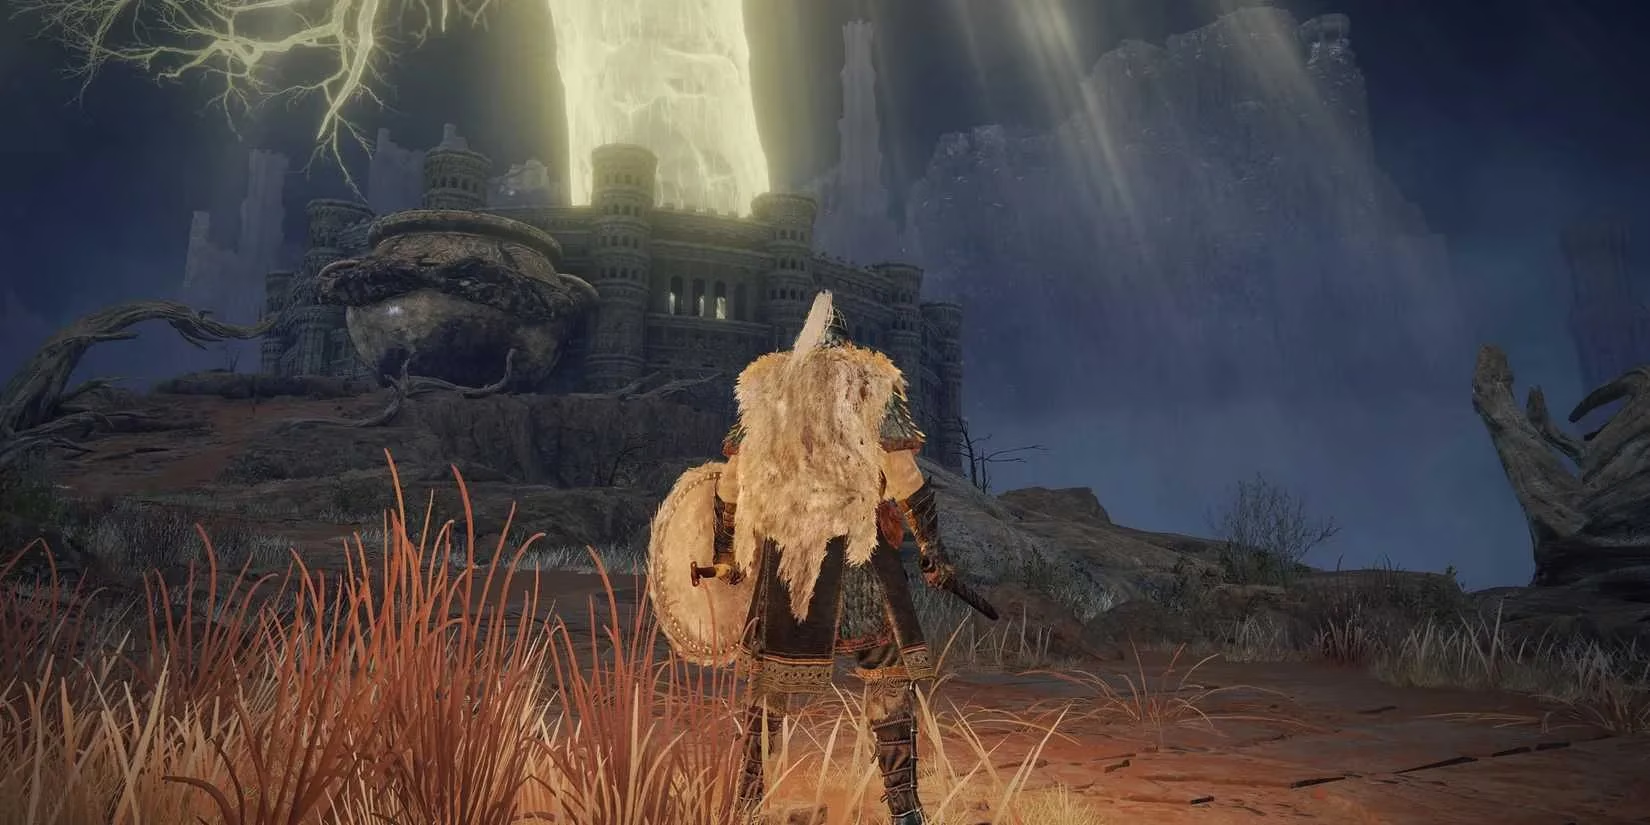
And then, there it was. The Great-Jar itself, colossal and silent. Approaching it, a prompt appeared. It doesn't speak, but its intention was clear: a challenge was issued. Red summon signs materialized on the ground, marking the beginning of the Great-Jar's Challenge.
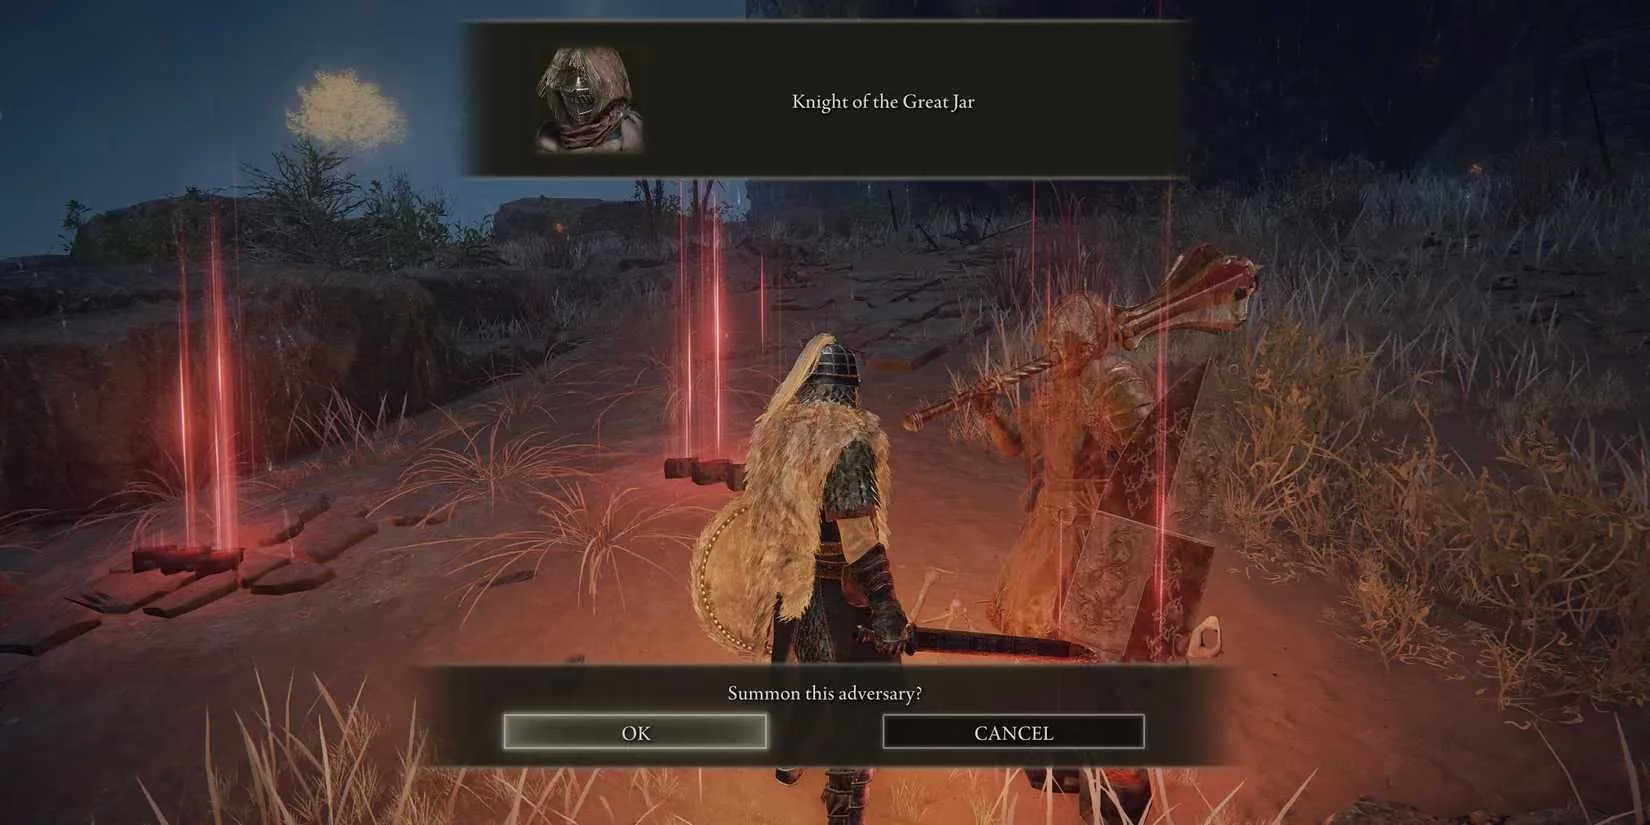
The rules are straightforward, but the execution is anything but. You must summon and defeat three Knights of the Great Jar. Here's the twist: these knights are based on the builds of real players who have conquered this challenge before. When you're online, you're essentially facing the ghosts of other Tarnished, which means you could run into absolutely anything. I've heard stories of players facing off against the most powerful, optimized meta builds—it's truly the luck of the draw. One attempt I had was against a mage who seemed to have an endless supply of Comet Azur!
If you're playing offline, the game provides three preset, but still tough, adversaries:
-
The Spellcaster: Armed with a long thrusting sword and a staff, ready to pepper you with spells from a distance.
-
The Dexterity Duelist: Wielding a fast sword, often applying poison, and using a buckler for precise parries.
-
The Strength Bulwark: A tanky opponent with a mace, holy-based skills, and a towering greatshield.
Each duel is a one-on-one test of your skills. You can't use your Spirit Ashes here; it's just you and them. I found that being aggressive and not letting spellcasters set up was key. For the strength build, breaking their guard or using attacks that bypass shields made the fight manageable. Defeating all three feels like a real accomplishment.
Once the last knight falls, return to the silent Great-Jar. Without a word, it bestows your hard-earned prize: the Great-Jar's Arsenal Talisman. 😍
This talisman is a game-changer. It boosts your maximum equip load by a massive 19%. Let me put that into perspective. I love wearing the sleek, powerful armor sets like the Malformed Dragon set or the full Tree Sentinel armor, but they weigh a ton. With this talisman, I could finally equip my favorite heavy armor and maintain a medium roll without having to pour dozens of level-up points into Endurance. It freed up those precious stat points for Vigor, Strength, or whatever my build needed. While there are other fantastic talismans for offense or defense, the Great-Jar's Arsenal is uniquely invaluable for letting you look good and stay agile in the heat of battle. It turned my heavily armored warrior from a slow tank into a formidable force. The trek through the wells, the fight against the knights—every bit of the struggle was worth it for this one powerful charm.