From the moment one first breaches the fog and steps onto the shores of Limgrave, the sheer, breathtaking scale of the Lands Between can feel overwhelming, a vast and intimidating tapestry woven from golden light and encroaching shadow. It’s a world where freedom is both a gift and a gauntlet thrown; you can go nearly anywhere, but the question of where to begin lingers like the Erdtree's distant glow. For the Tarnished newly called to grace, the initial steps are not about conquering demigods, but about gathering the tools, allies, and courage necessary for the odyssey to come. This guide illuminates those first, crucial waypoints—not a exhaustive map, but a collection of essential early pilgrimages where fortune favors the bold, and every discovery whispers, "Adventure awaits."
The Church of Elleh: First Sanctuary
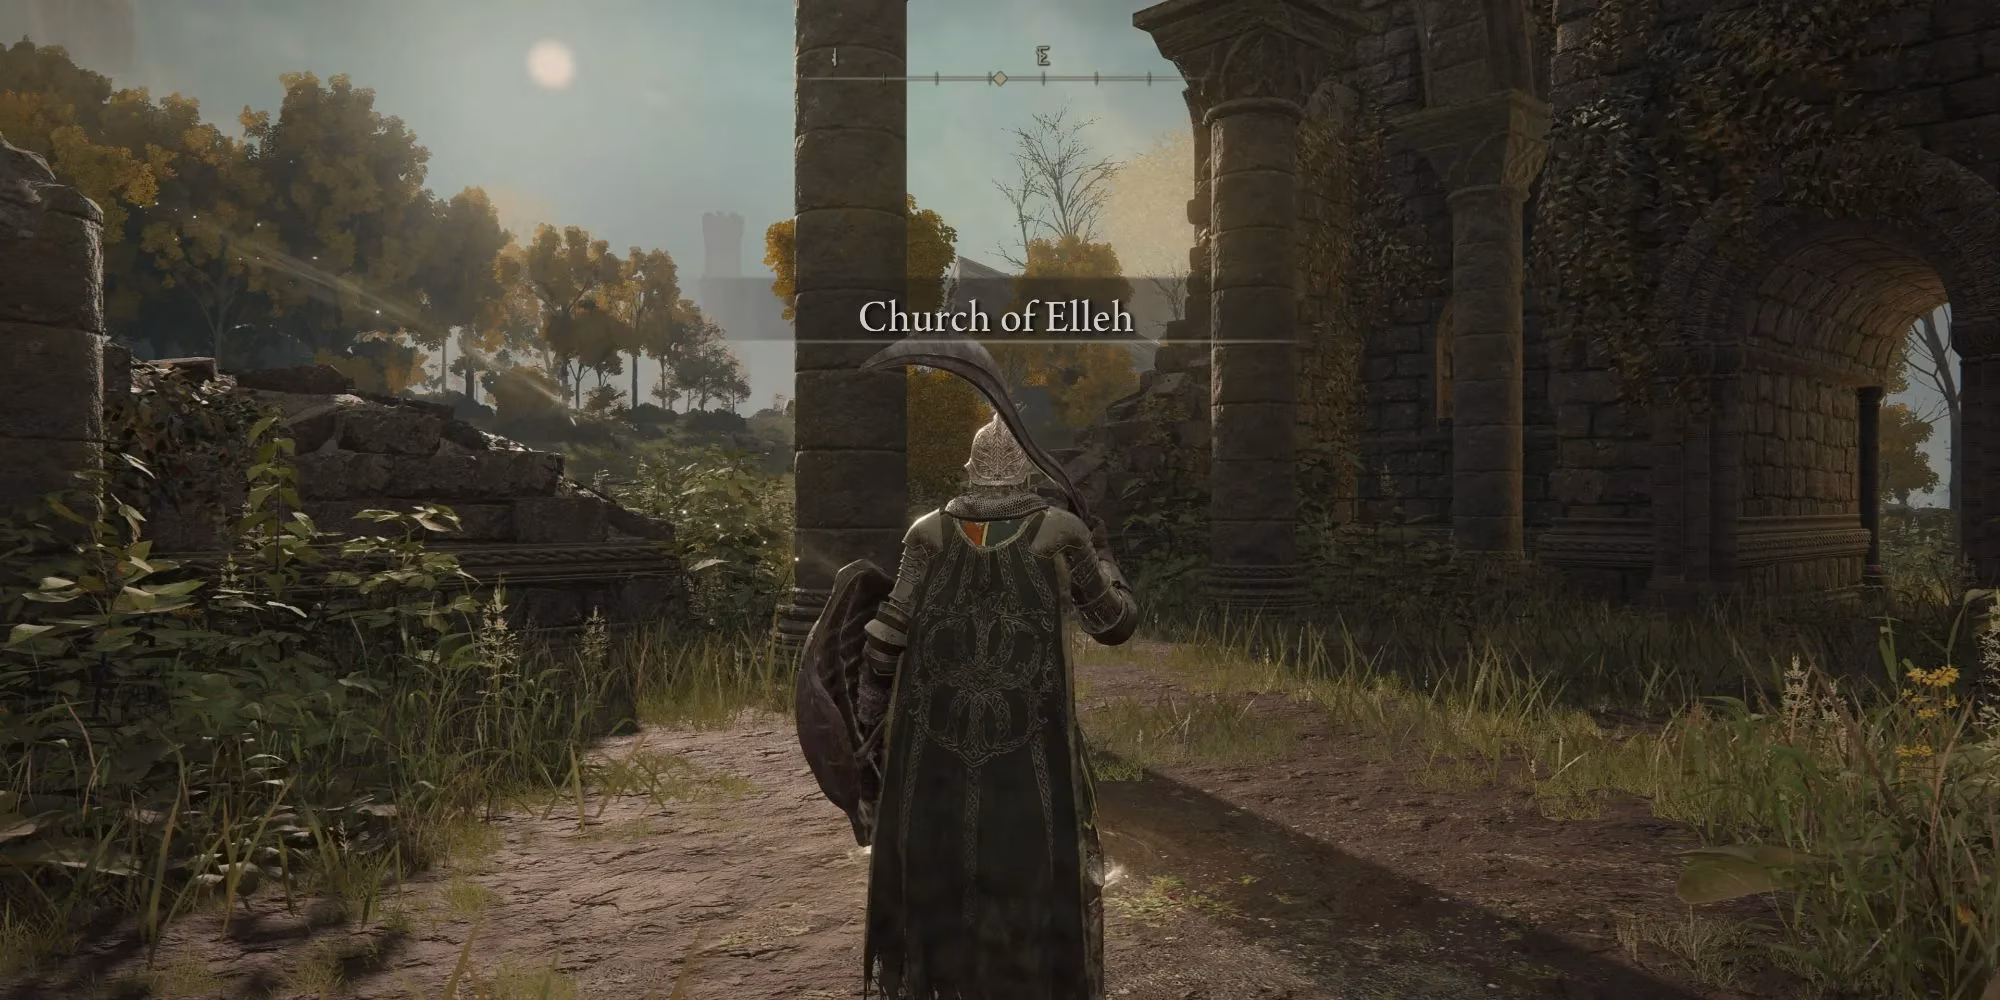
The journey begins with a simple directive: follow the grace. It leads unerringly to the Church of Elleh, a humble yet pivotal sanctuary. Ignore the intimidating golden sentinel patrolling outside—this is a lesson in choosing one's battles. Within these ancient walls lies a trifecta of early-game essentials: a Site of Grace for respite, a rudimentary smithing table, and the enigmatic Merchant Kale. From Kale, one must purchase the Crafting Kit; this small tool transforms the wilds into a workshop, allowing for the creation of arrows, fire pots, and other lifesaving items on the fly. But the church's magic doesn't end there. Return after a fateful meeting at the Gatefront, and a mysterious figure named Renna may appear, bestowing the Spirit Calling Bell and the Lone Wolf Ashes—one's first spectral companions in a lonely world. It’s the perfect starter pack for the road ahead.
Gatefront Ruins: Where Destiny Mounts Up
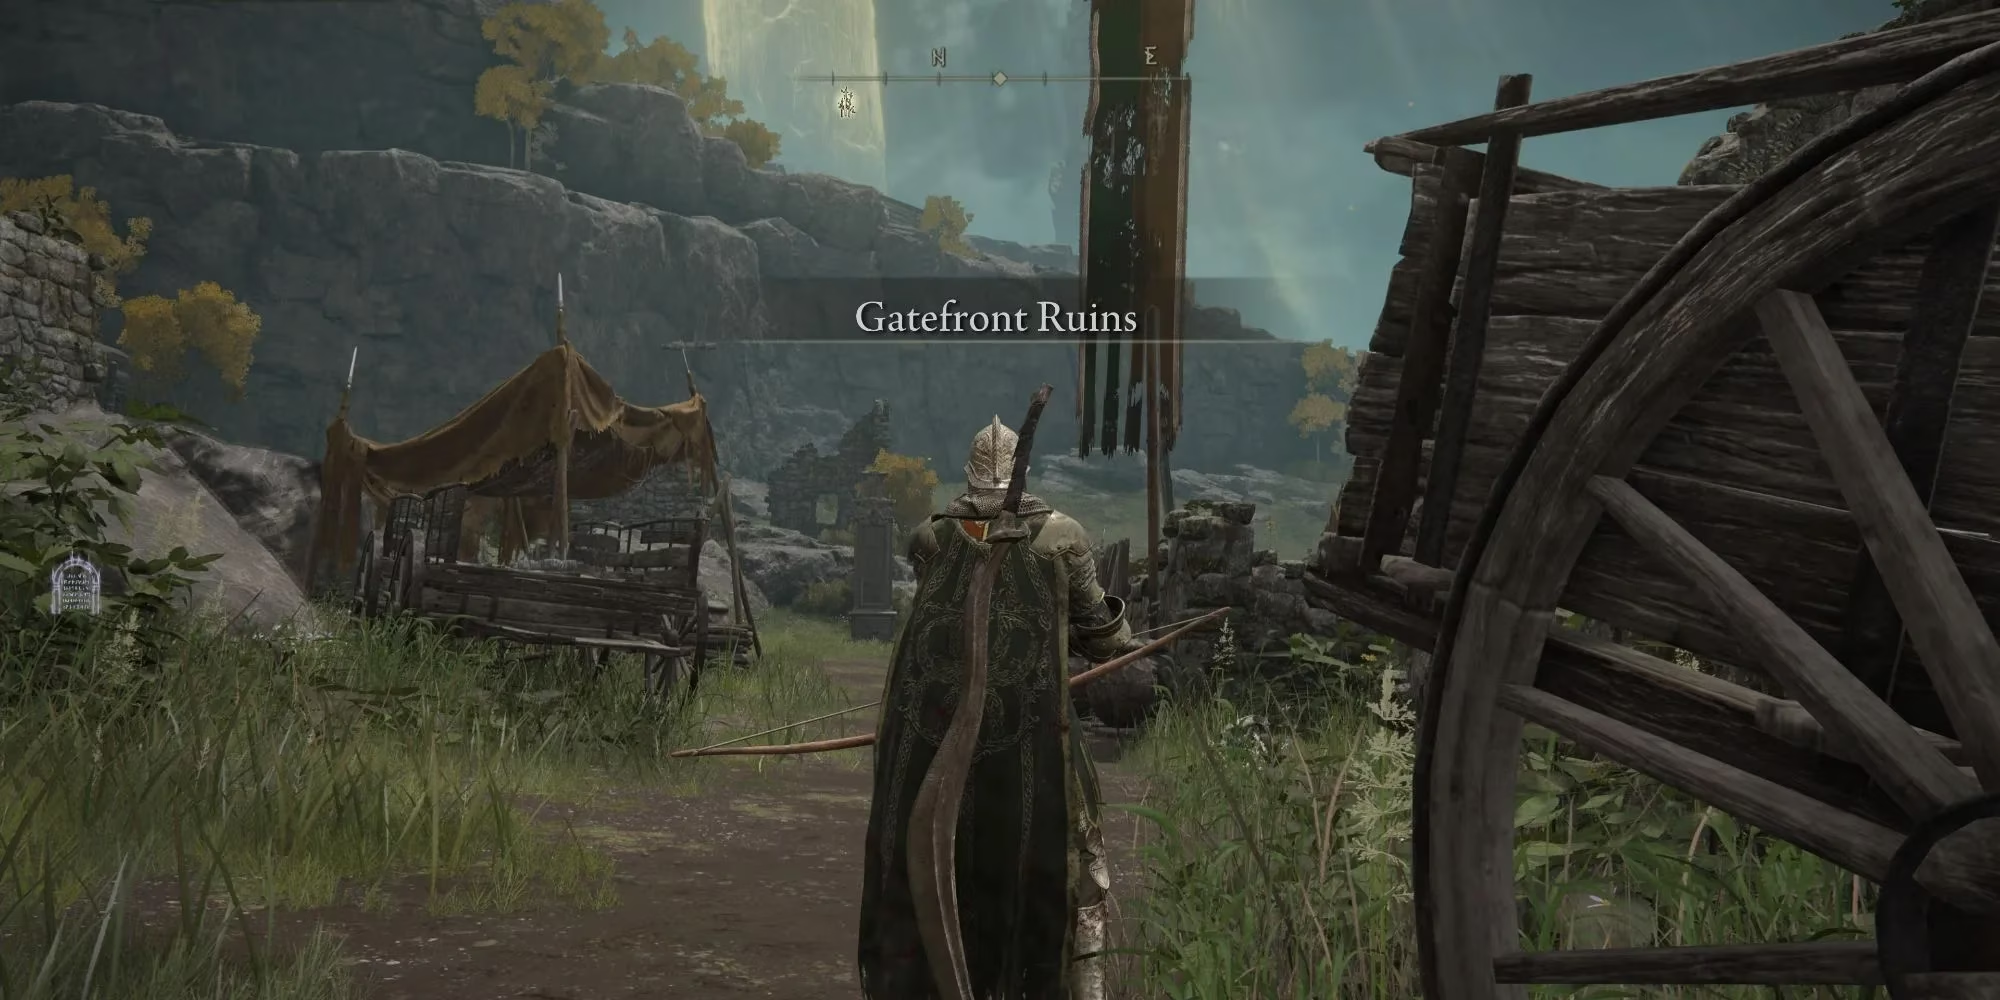
Following the road north from the church inevitably leads to the Gatefront Ruins, a camp held by Godrick's soldiers. A cautious Tarnished might skirt the western edge, finding a Site of Grace that gazes upon the towering ramparts of Stormveil Castle. Resting here is a game-changer. It summons Melina, a maidenless maiden who offers a pact: she will be your finger maiden, turning Sites of Grace into conduits for power, allowing you to spend hard-earned Runes to level up. Her true gift, however, is the Spectral Steed Whistle, summoning the agile, horned steed Torrent. With Torrent, the world opens up; distance shrinks, escapes become possible, and exploration transforms from a trudge into a gallop. For the brave who clear the ruins, a hidden cellar rewards them with the Whetstone Knife (unlocking Ash of War customization) and the Storm Stomp art.
A Cry from the Bushes: Boc the Seamster
Near the gate to Stormveil, just east of the roadside telescope, a plaintive voice calls from a cluster of bushes. This is Boc the Seamster, a unique demi-human with a heart of gold and a sorry tale. Freeing him from his leafy prison begins a poignant questline. More immediately, he offers a priceless service: free alterations to your armor. In a world where fashion is low-key as important as function, Boc is a true friend. His story, which later intertwines with a perilous coastal cave, is one of the Lands Between's more heartfelt threads.
Summonwater Village & The Third Church of Marika
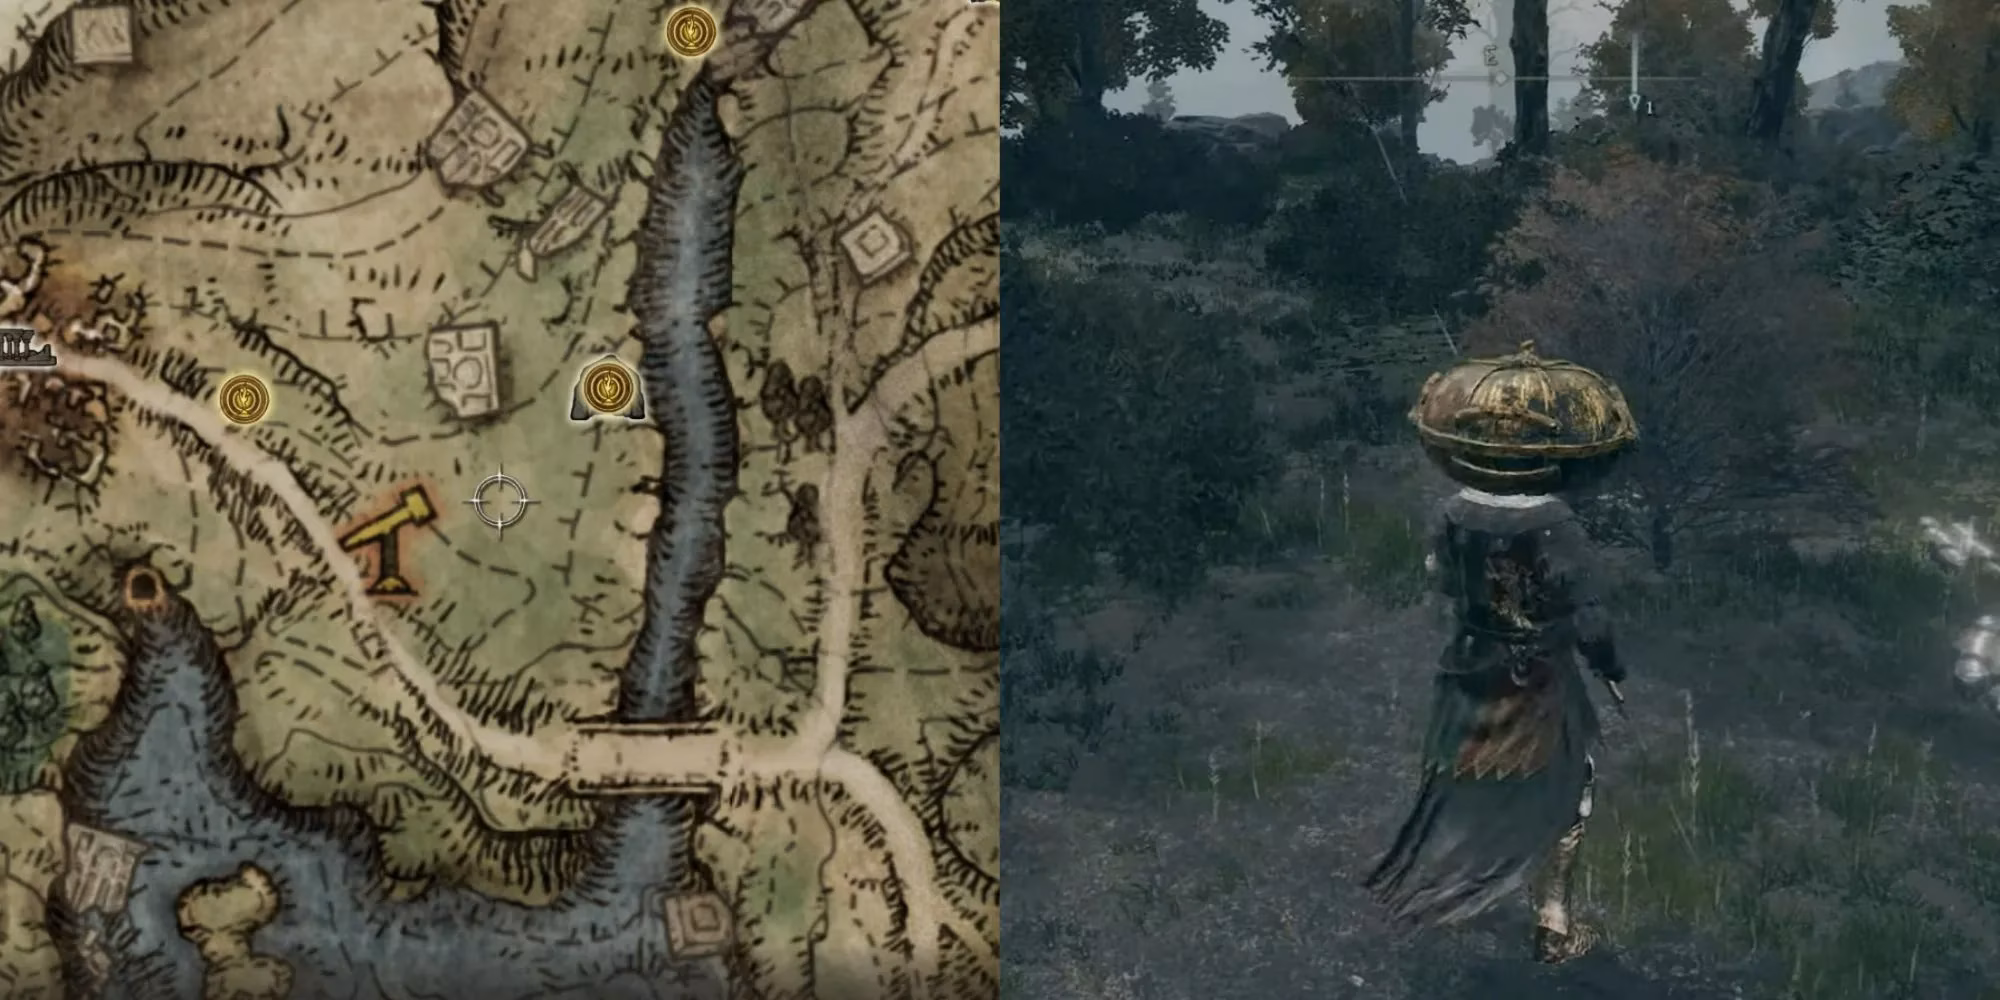
The northeast of Limgrave holds two critical stops. Summonwater Village, perched near the blighted border of Caelid, is guarded by the spectral Tibia Mariner. Defeating this eerie boatman yields Runes and, crucially, a Deathroot—a key item for a later, beastly questline. Loot the village for the excellent Green Turtle Talisman (boosting stamina recovery) and speak with D, Hunter of the Dead, to begin his arc.
A short ride southeast lies the Third Church of Marika. Dispatching a few wolves grants access to two treasures:
-
A Sacred Tear: Permanently increases the potency of your healing and FP flasks. Essential.
-
The Flask of Wondrous Physick: A customizable consumable that can provide powerful, one-time buffs by mixing found Crystal Tears.
Here, a hidden Sending Gate also offers a quick, one-way trip to a distant plateau, relevant for those bearing Deathroot.
Proving Grounds: Castle Morne & Early Dungeons
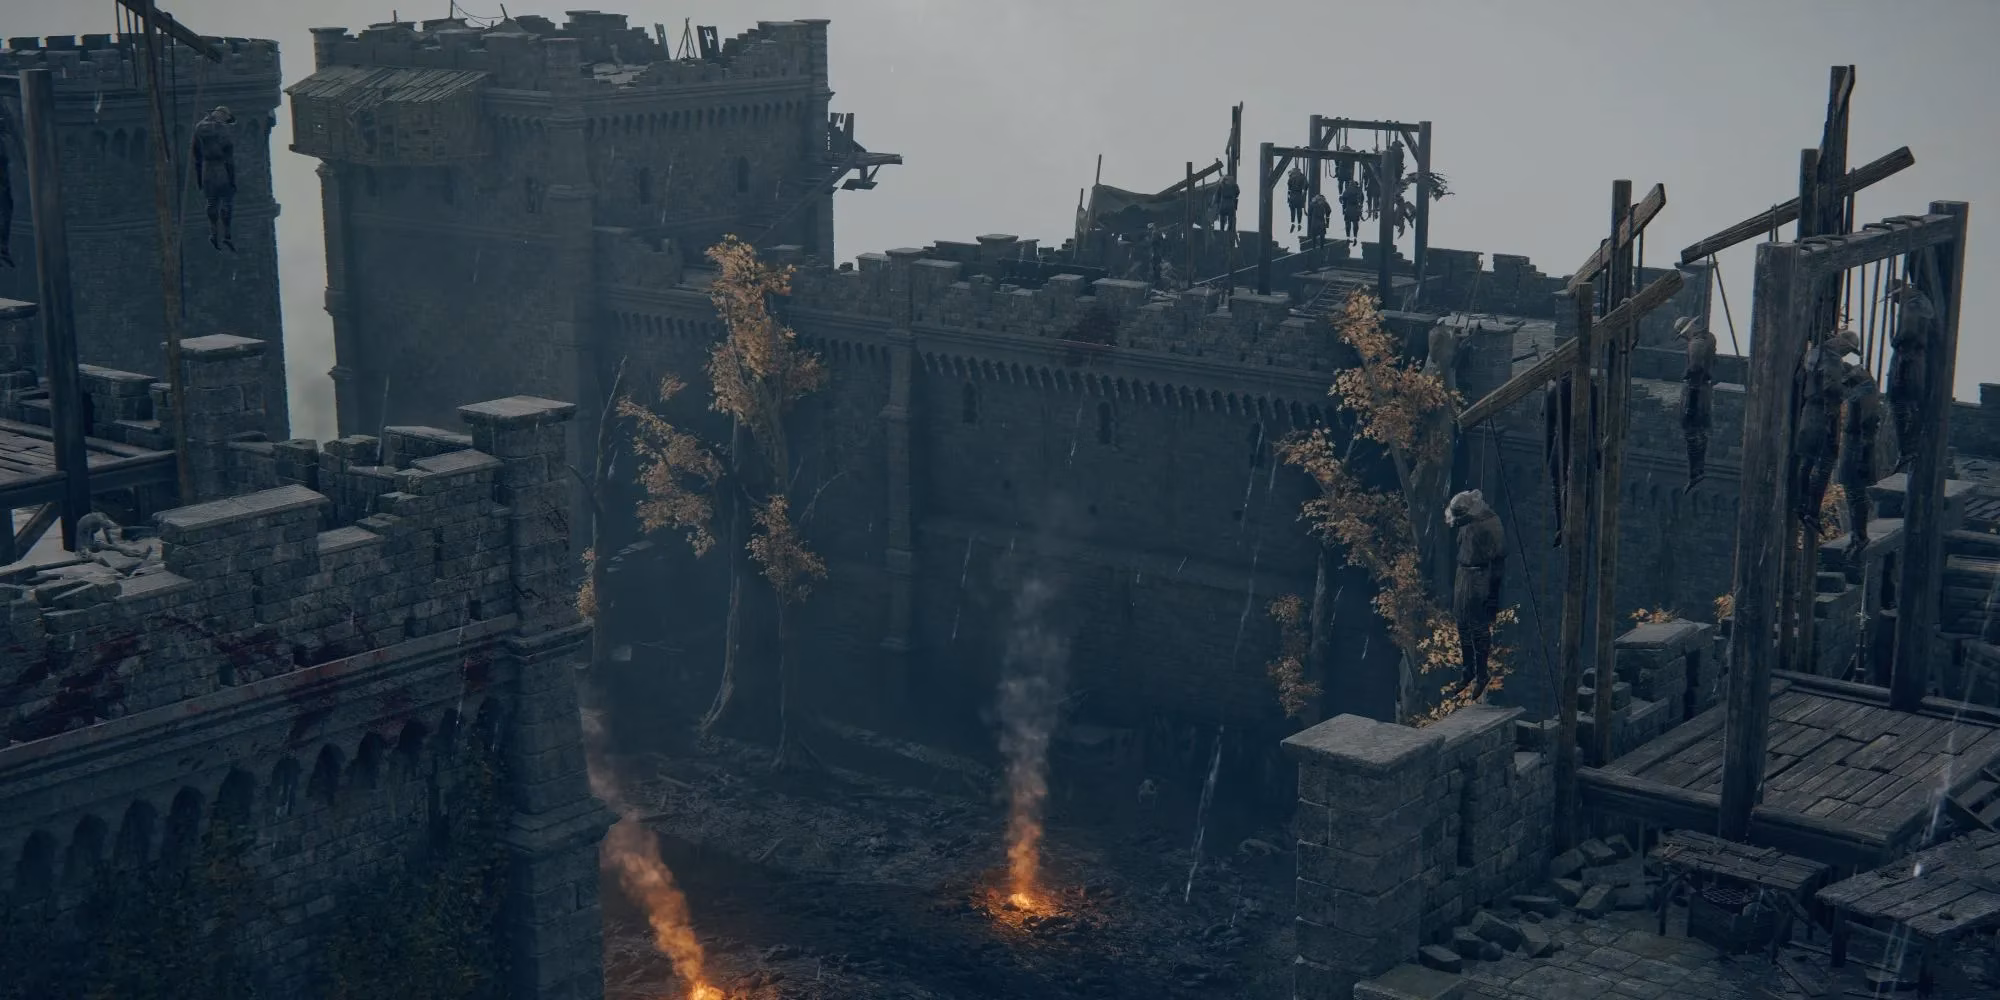
When the open world starts to feel routine but Stormveil Castle still looms too large, the Weeping Peninsula offers the perfect intermediate challenge. At its southern tip stands Castle Morne, an optional legacy dungeon. It’s a fantastic testing ground, packed with enemies for farming and valuable loot. The culmination is a boss fight rewarding the Grafted Blade Greatsword, a powerhouse for Strength builds. It’s the perfect place to git gud in a controlled, rewarding environment.
For an even gentler introduction to dungeon delving, Limgrave's caves are ideal. Groveside Cave and Stormfoot Catacombs are bite-sized experiences that teach the rhythms of exploration and boss combat. The Flamedrake Talisman from Groveside's boss provides precious fire damage negation.
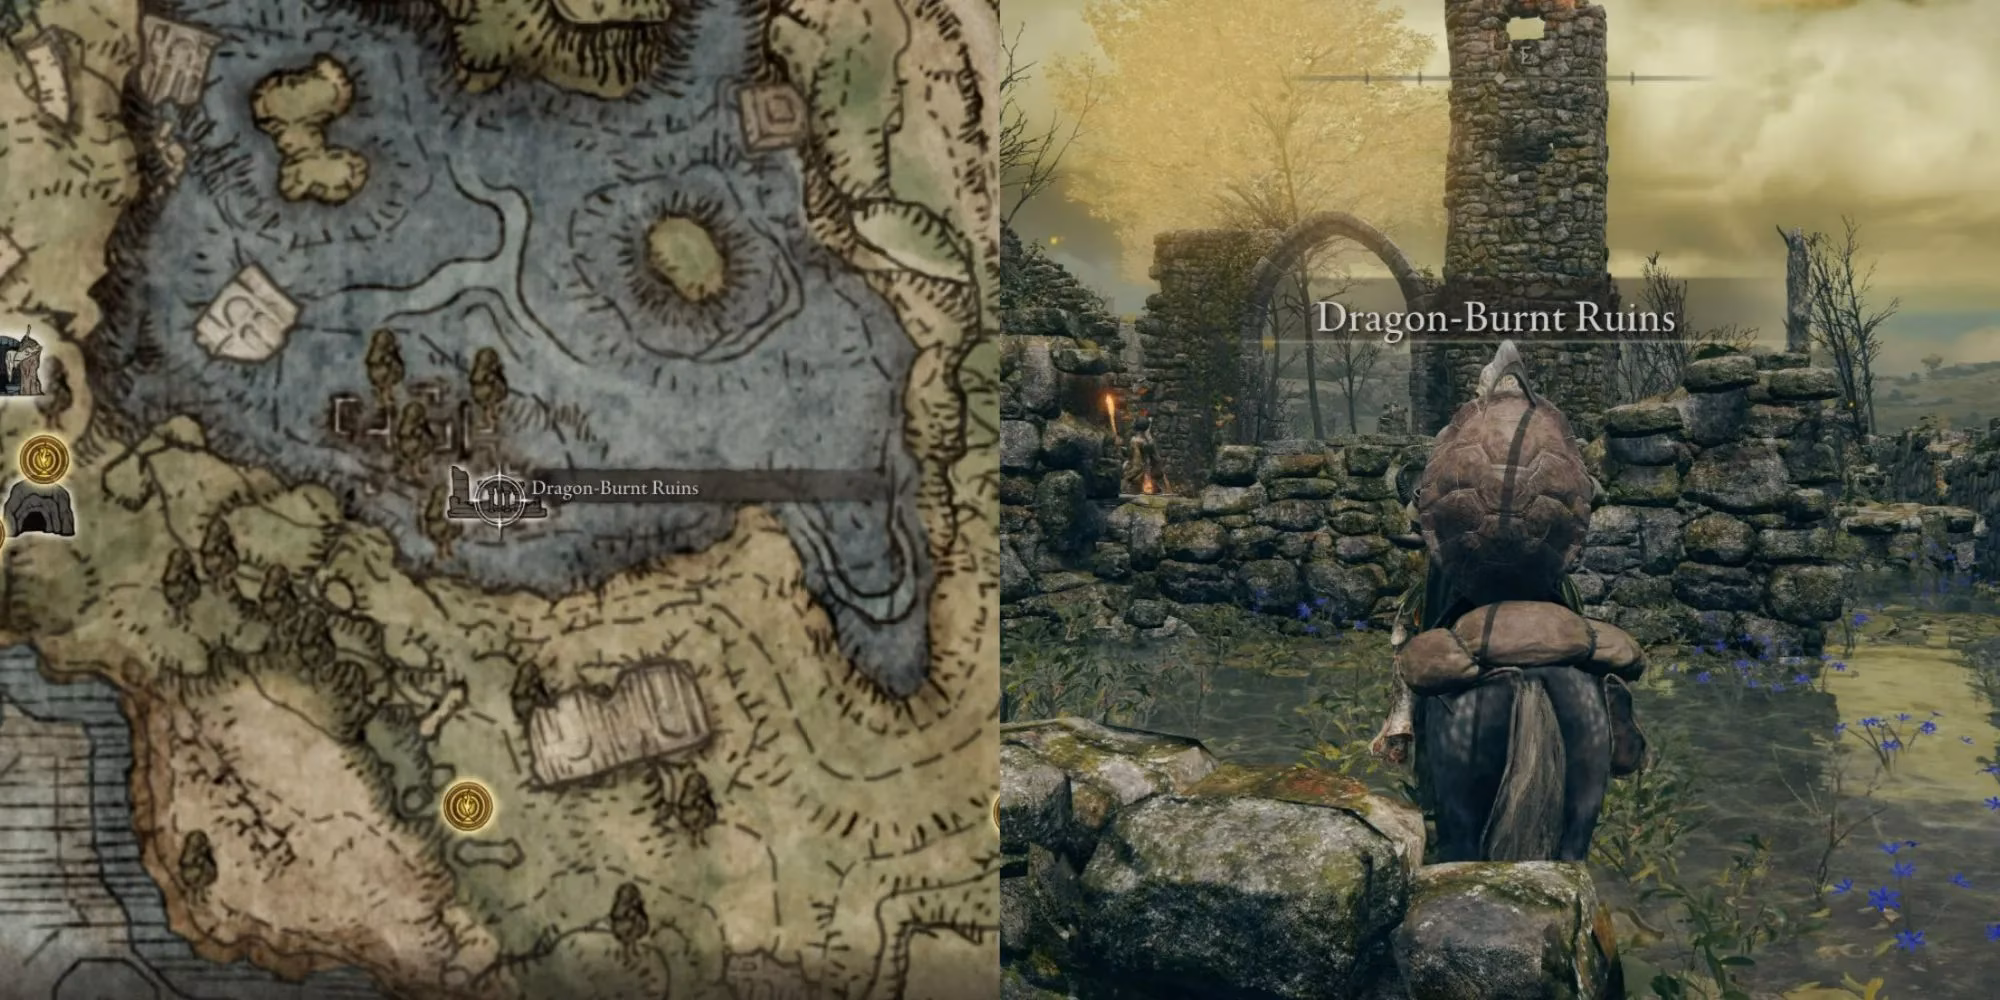
Treacherous Ruins & Vital Resources

South of Agheel Lake lie the Dragon-Burnt Ruins. Tread carefully—a massive, fire-breathing surprise lurks in the waters. The ruins themselves house a classic FromSoftware trick: a basement chest that is a teleportation trap to a hellish late-game area. The real prize is hidden behind a low wall: jump over with Torrent to find a chest containing the Twinblade, a flashy and effective early-game weapon.
Gear improvement requires Smithing Stones, and the Limgrave Tunnels on Agheel Lake's northwest shore are the first dedicated mine. Its crystalline denizens are resistant to physical attacks, making it a good place to practice sorceries or incantations. Conquering it yields a haul of upgrade materials and the Roar Medallion, boosting breath attacks.
A Coastal Quest: Boc's Redemption
The Coastal Cave on western Limgrave's shore continues Boc's story. You'll find the beleaguered seamster injured inside. Fighting through the cave's aquatic foes leads to a twin boss fight. Victory grants the Sewing Needle, allowing you to return Boc's purpose. Pushing further through the cave reveals the stunning Church of Dragon Communion, where Dragon Hearts can later be traded for devastating arcane incantations.
| Location | Key Reward | Why It's Essential |
|---|---|---|
| Church of Elleh | Crafting Kit, Spirit Bell | Enables crafting & summons; central hub. |
| Gatefront Ruins | Torrent, Leveling Up | Unlocks mobility and character growth. |
| Third Church of Marika | Sacred Tear, Physick Flask | Major healing upgrade & powerful buff. |
| Limgrave Tunnels | Smithing Stones | Allows weapon upgrading for more damage. |
| Castle Morne | Grafted Blade Greatsword | Excellent early-game weapon & skill test. |
These locations are but the first few notes in a symphony of exploration. They provide the foundation—the tools, the strength, the knowledge—upon which a Tarnished can build their legend. The path between grace is long and fraught, but by starting here, you ensure your first steps are firm. Now, go forth. The Lands Between, in all its terrible beauty, awaits your story. 🌟