In the vast and often unforgiving world of Elden Ring, the choices a Tarnished makes can have profound and lasting consequences. One of the most significant crossroads comes when a player encounters the ominous Three Fingers deep beneath the Royal Capital. Accepting their brand, the Frenzied Flame, is a point of no return that locks the player into a single, apocalyptic ending. However, for those who seek redemption or wish to explore the other narrative conclusions available in the Lands Between, there exists a complex but achievable path to purge this chaotic curse. This guide will walk you through the intricate steps required to reverse the Frenzied Flame's grip on your character.
🔥 Embracing and Understanding the Frenzied Flame
To even consider removing the curse, one must first understand how to acquire it. The journey begins in the depths beneath Leyndell, Royal Capital. Adventurers must navigate the treacherous subterranean sewers, a labyrinthine network filled with peril. This path culminates in a confrontation with the formidable boss, Mohg, the Omen. After this battle, a challenging platforming section awaits, testing the player's dexterity. At the end lies a foreboding door.
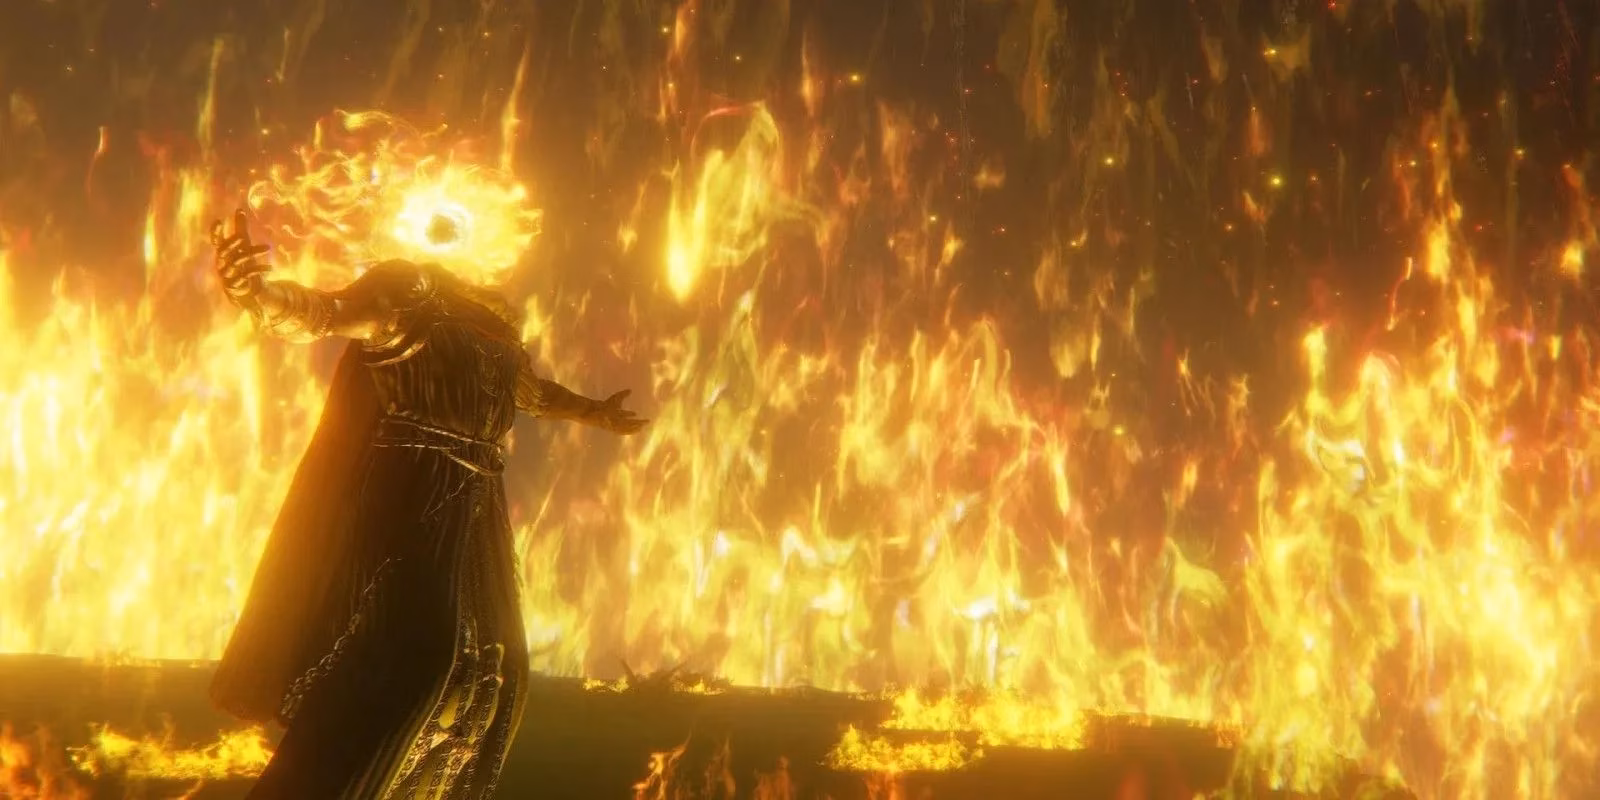
A crucial warning: Opening this door triggers a dramatic and irreversible event. The player's equipped armor is incinerated, and they are seized by a monstrous, burning hand—the manifestation of the Three Fingers. This branding marks the Tarnished as the future Lord of Frenzied Flame, setting the stage for an ending where all is consumed by chaos. The Frenzied Flame Seal, a unique item associated with this path, becomes a symbol of this fate.

👣 The Path to Purification: Millicent's Quest
The key to undoing this destiny lies not in a simple item, but in a poignant and multi-stage character questline. Before you can even think of facing the ancient Dragonlord Placidusax to perform the cleansing ritual, you must first complete the entire story of Millicent. This quest is a lengthy odyssey across the Lands Between, intertwined with themes of rot, resilience, and choice.
Here is a step-by-step breakdown of Millicent's quest chain:
- Initial Encounter: Find the ailing Millicent at the Church of the Plague in Caelid, a region west of Limgrave shrouded in Scarlet Rot.

-
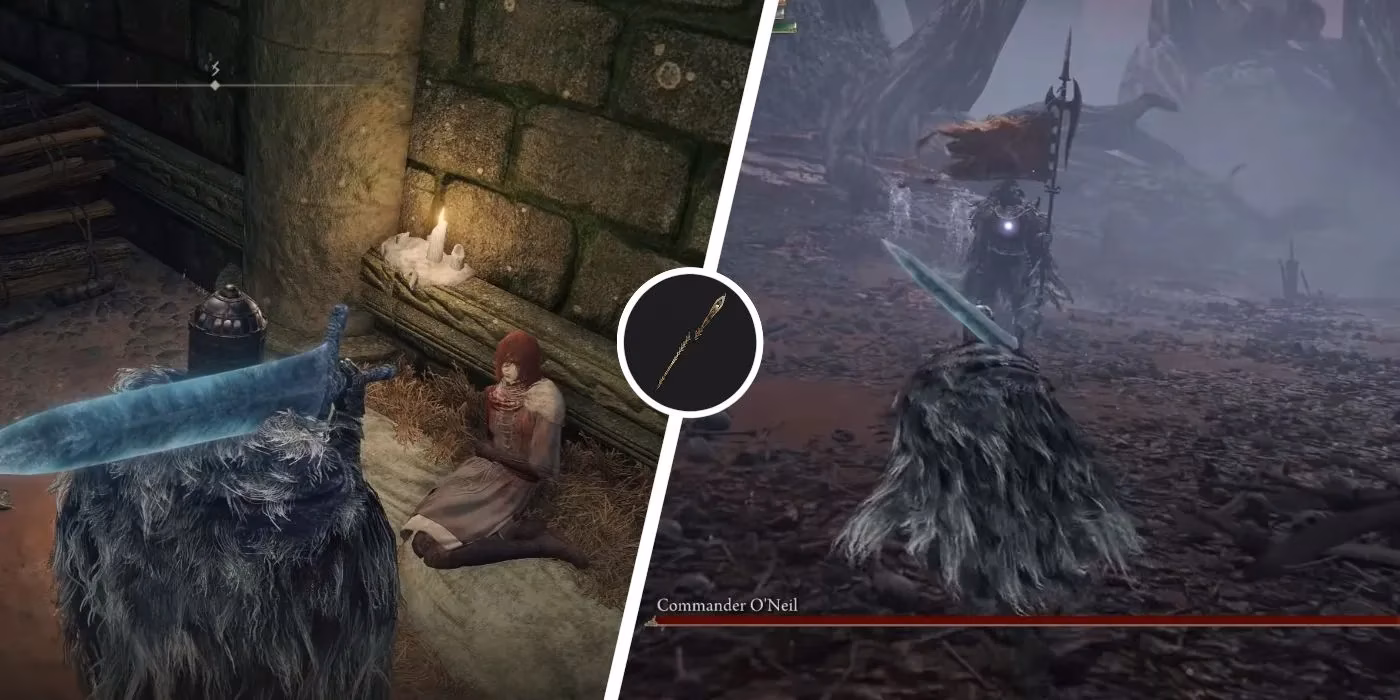
Seeking the Cure: Speak to Gowry at his shack in Caelid. He reveals that the Unalloyed Gold Needle, a potential cure for Millicent's affliction, is held by Commander O'Neil, a boss located west of the Heart of Aeonia swamp.
-
Acquiring the Needle: Defeat Commander O'Neil. He will drop both his Commander’s Standard and the crucial Unalloyed Gold Needle.
-
Return and Progress: Bring the needle back to Millicent at the Church of the Plague, then speak to her again at Gowry's Shack. Her journey mirrors your own, and you will encounter her at several key locations as your adventure progresses:
-
Erdtree-Gazing Hill in the Altus Plateau.
-
Ancient Snow Valley Ruins Site of Lost Grace.
-
Prayer Room in the hidden Haligtree zone.
-
-
Final Aid: At the Haligtree, you must defend Millicent against a pair of hostile invaders. Successfully aiding her here is vital for the quest's conclusion and for you to receive the tool needed for your own salvation.
⚔️ Crafting the Tool of Salvation: Miquella's Needle
With Millicent's quest resolved, the next step involves one of the game's greatest challenges. You must journey to the heart of the Haligtree and defeat Malenia, Blade of Miquella, arguably the most demanding boss in Elden Ring. After this epic battle, return to her arena. Where the massive Scarlet Rot flower blooms, you can use the Unalloyed Gold Needle.
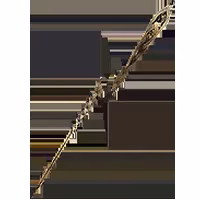
This action transforms the needle, creating Miquella's Needle. This sacred artifact, forged from the essence of an Empyrean, possesses the power to quell the outer god of Frenzied Flame. It is the only item capable of reversing your cursed branding.
🌪️ The Final Ritual in Crumbling Farum Azula
The final stage of purification takes place in one of the game's most spectacular and hidden locations: the heart of Crumbling Farum Azula. You must bring Miquella's Needle to the boss arena of the legendary Dragonlord Placidusax.
To reach this secluded arena, follow these directions carefully:
-
Start from the "Beside the Great Bridge" Site of Grace.
-
Do not proceed to the boss. Instead, take the elevator down behind you.
-
Follow the stairs outside to a crumbling cliffside.
-
Carefully navigate to the edge of the cliff and look down. You will see a series of floating, broken stone platforms.
-
Make a perilous jump onto these platforms and descend carefully.
-
At the bottom, near a piece of debris, you will find a spot to lie down. Doing so will transport you to the timeless arena where the Dragonlord awaits.
🐉 Confronting Dragonlord Placidusax
This ancient dragon is a formidable foe, employing devastating lightning and phase-shifting attacks. Preparation is key:
-
Ashes of War that provide high damage negation or mobility are highly recommended.
-
Summoning spirits can help draw aggro during this intense two-phase battle.
-
Patience and learning his attack patterns are more valuable than brute force.

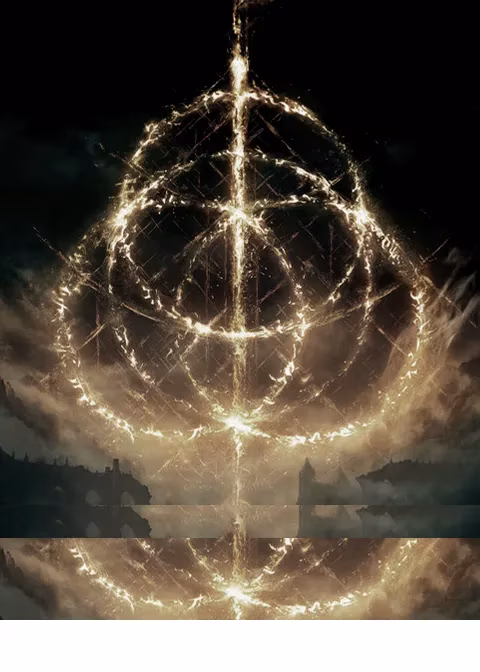
You do not need to defeat Placidusax to use the needle. Simply surviving long enough to reach his arena is sufficient. Once there, with the storm raging around you, use Miquella's Needle from your inventory. A unique animation will play, showing the needle reacting to the primal storm of Farum Azula—a power strong enough to sever the connection to the Flame of Frenzy。。
。。
。
。。
。
。
。
。
。,
。,
。
。,
。
。
。
。,
。
。
。
。
。
。,
。,
。,
。,
。,
。,
。,
。,
。
。
```