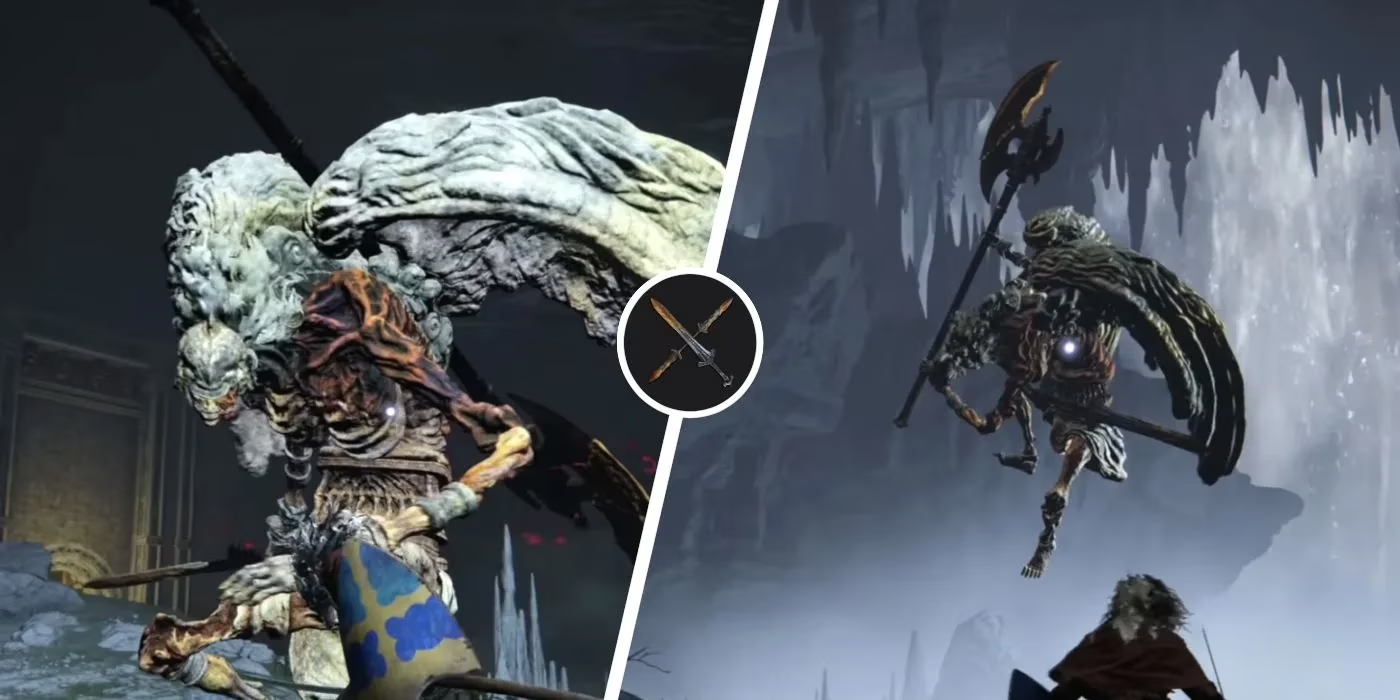
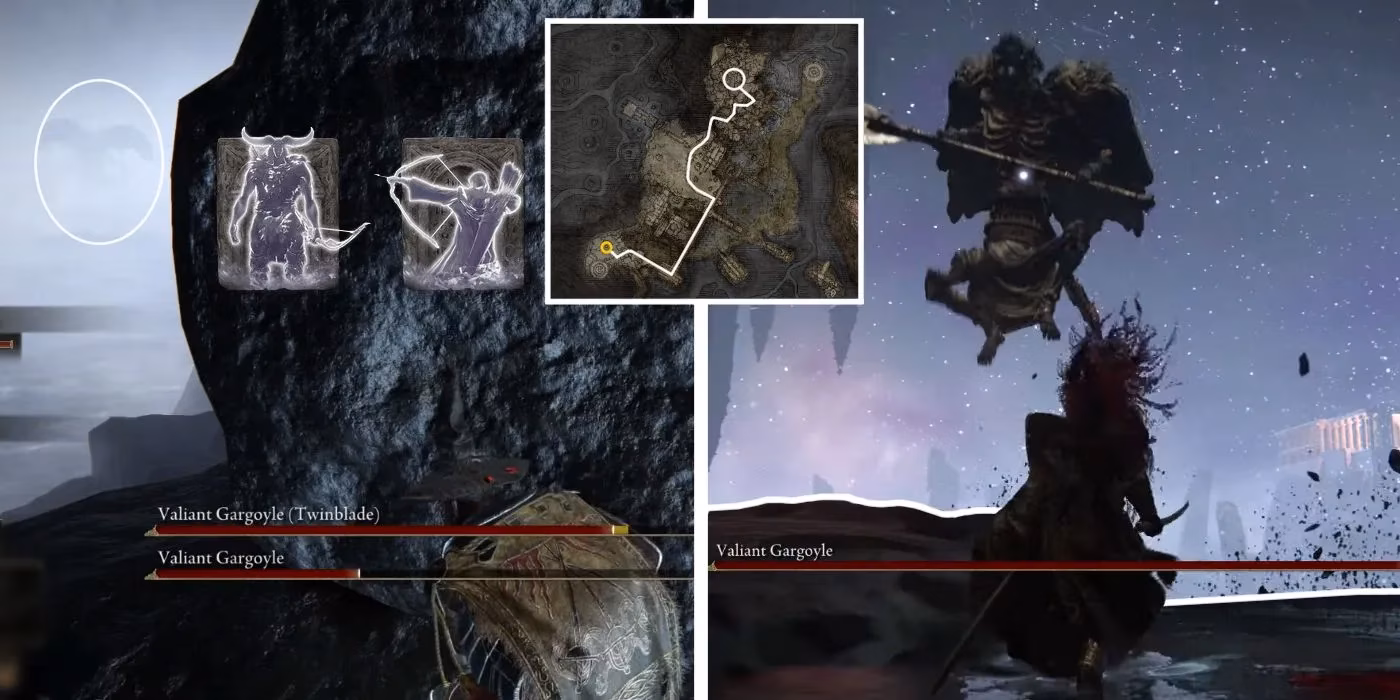
Ugh, fellow Tarnished, I just spent an entire evening wrestling with the Valiant Gargoyle duo in the Siofra Aqueduct, and let me tell you, it was a ROUGH one. 😭 This boss fight is infamous for a reason—you think you're handling one big stone guy, and then BAM, his twin with a twinblade drops in from the waterfall for a brutal 2v1. It's the guardian of the path to the Deeproot Depths, and you only get there after beating Starscourge Radahn and exploring Nokron. Finding the path itself is a mini-adventure, hidden on a cliffside trail north of the Night's Sacred Ground after the Mimic Tear. But once you're in that basin... the real challenge begins.
🛡️ My Battle-Tested Strategy & Build Tips
First things first, your build matters SO much here. After many failed attempts, I found that a hybrid melee-ranged approach is the golden ticket. You need enough vigor to survive their heavy hits, but also reliable ranged options to whittle them down safely.
-
Weapon Arts are Key: I cannot stress this enough. Abilities like Miquella's Ring of Light (from the Halo Scythe) or Nebula (from the Wing of Astel) are absolute lifesavers. They let you deal significant damage from a distance, which is crucial when the second gargoyle joins the fray.
-
Damage Type is EVERYTHING: These bosses are immune to all status effects like bleed, frost, etc. 😤 So forget about those. Focus on pure physical damage, and specifically, Strike damage is their biggest weakness. Think hammers, flails, or weapons with blunt attacks.
-
Spirit Summon Timing: Don't summon your spirit ash right at the start! I made this mistake. Save your tankiest summon (like the Mimic Tear or a greatshield soldier) for the exact moment the Twinblade Gargoyle appears. This will split their aggro and give you precious breathing room.
-
Call for Backup! Remember, jolly cooperation is allowed here. Bringing a friend for a 2v2 showdown can completely change the dynamic and make it way more manageable (and fun!).
⚔️ Phase-by-Phase Breakdown: How to Actually Win
Okay, let's talk tactics. Patience and pattern recognition are your best friends.
Phase 1: The Solo Dance
Your goal here is to take as little damage as possible. The first Valiant Gargoyle switches between a sword and a halberd, each with about nine different moves.
-
Stay Close (But Not Too Close): Melee builds should stick near its legs, but be ready to dodge roll away from wide sweeps and slams.
-
POISON MIST ALERT! 👀 This is its most dangerous move. When it rears back and starts spewing green mist, RUN. Backpedal quickly to avoid the deadly poison buildup. Always have Cure Poison boluses ready!
-
Ranged/Magic Users: You have two options: get right up in its face or stay very far back. The mid-range is a death zone for spellcasters.
Phase 2: The Chaotic Duo
When the first gargoyle hits about 50% health, the second one descends. This is the make-or-break moment.
-
Lure and Isolate: As the first one nears half-health, try to lure it back toward the entrance. Sometimes this can make the Twinblade Gargoyle spawn farther away.
-
BURN THE FIRST ONE DOWN: The moment the second one appears, unleash your highest DPS (damage per second) on the original, wounded gargoyle. Use everything you have to finish it before they can properly team up on you.
-
Kite and Focus: If you're stuck with both, don't panic. Kite them around the arena, keeping your distance. Always focus on the one with the lowest health. Taking one out of the fight completely is your top priority.
Phase 3: The Final Showdown
If you successfully kill the first gargoyle, you're back to a 1v1 with the Twinblade variant. Breathe. This one switches between a twinblade and a great axe. Its attacks are aggressive but more predictable now that you don't have to watch a second enemy. Be patient, wait for safe openings, and claim your victory!
🧀 For the Truly Desperate: The Cheese Methods
Look, we've all been there. If you're completely stuck, here are two legendary cheese strategies that still work:
Method 1: The Ledge Tumble
At the back of the arena, to the right of the entrance, is a waterfall ledge over a deadly drop.
-
Lure the gargoyles there and position yourself so their backs are to the cliff.
-
Carefully bait out their backward dodge or leap attack. With perfect positioning, they'll launch themselves right off the edge to their doom. It requires some practice but is immensely satisfying.
Method 2: The Waterfall Sniper's Nest
-
Run past the bosses to the giant waterfall at the back of the room.
-
Hide behind one of the large rocks behind the waterfall curtain. Here, the gargoyles often lose aggro and just stand around.
-
From this safe spot, you have two options:
-
Snipe Them: Use a bow with hundreds of arrows and take them down slowly from absolute safety.
-
Summon Archers: Use spirit ashes like Latenna the Albinauric or the Ancestral Follower. They have infinite ammo and will shoot the gargoyles from range while you stay hidden. Just make sure the bosses are within their line of sight.
-
This fight is a brutal test, but overcoming it feels incredible. Whether you do it with skill, strategy, or a little cheesy ingenuity, getting past these stone sentinels is a major milestone on your journey through the Lands Between. Don't give up, skeleton! 💀✨
