Dragons remain some of the most majestic and formidable adversaries within the Lands Between. As ancient rulers predating the Age of the Erdtree, these colossal creatures are scattered across the realm, each presenting a unique challenge of strength and power. For Tarnished warriors in 2026, seeking out and defeating every dragon boss is a monumental task that demands preparation, strategy, and courage. This guide provides an essential overview of every dragon's location, the recommended level for engagement, and the valuable rewards that await the victorious.
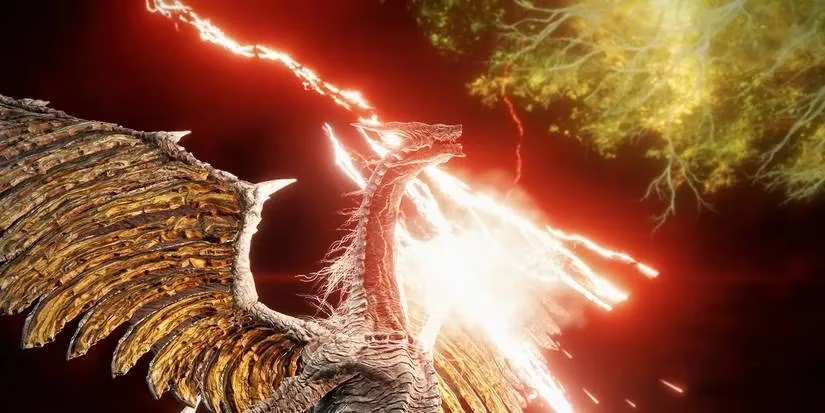
The journey typically begins in Limgrave with Flying Dragon Agheel. This fire-breathing behemoth patrols the lake of Agheel and serves as an early test of skill. Utilizing Torrent, your spectral steed, is crucial for managing distance. Agheel's fiery breath has immense range, but leaves it momentarily stationary—a perfect opening for attack. This dragon is notably weak to piercing damage, making arrows and spears exceptionally effective. 🏹
Venturing into Caelid introduces more specialized draconic threats. The Magma Wyrm lurks within the Gael Tunnel, a dungeon boss resembling a fiery crocodile. Its arena is littered with dangerous magma. The key is constant mobility, sticking close to its hind legs. Arm yourself with hammers, spears, or spells, and consider applying Freezing Grease to your weapons for increased potency. Not far away, the Decaying Ekzykes guards southern Caelid, spewing deadly Scarlet Rot. This grounded dragon uses devastating area-of-effect attacks and a lethal breath weapon. A hit-and-run strategy on Torrent is advised, exploiting its weakness to fire damage and bleed effects. 🔥
Back in Limgrave's later regions, Flying Dragon Greyll presents a more dangerous iteration of Agheel. The confined space of the Farum Greatbridge complicates this fire-based fight. Staying close to its feet and wings while exploiting its susceptibility to piercing weapons and bleed builds is the optimal strategy. Spirit summons can provide a much-needed distraction. Meanwhile, in Dragonbarrow, the Elder Dragon Greyoll rests, surrounded by five protective lesser dragons. This massive, immobile "mother of all dragons" can be defeated by either slaying her guards or carefully attacking her tail from a safe distance.
As players progress to Liurnia of the Lakes, they encounter the Glintstone Dragon Smarag. This magic-infused beast employs glintstone breath and projectile shards. While resistant to its own glintstone magic, it is highly vulnerable to lightning spells, which can swiftly turn the tide of battle. For those seeking an alternate path to the Altus Plateau, the Magma Wyrm Makar awaits in the Ruin-Strewn Precipice. This stronger variant of the Gael Tunnel wyrm shares similar patterns but hits harder. Summoning the available NPC helper before the fight and favoring hammers, spears, and spells over slash damage is recommended.
The true ancient dragons offer some of the game's most spectacular encounters. Ancient Dragon Lansseax, adorned with stony scales, is first met near the Abandoned Coffin before relocating to a hill north of the Rampartside Path. It wields deadly ancient lightning magic and a sweeping glaive attack. Using a spirit summon to draw aggro and employing powerful bleed weapons is highly effective. The magnificent Lichdragon Fortissax is a missable boss, accessible only by completing Fia's questline. This battle takes place in a unique, enclosed arena where Torrent cannot be summoned, but spirit ashes can. With its devastating Ancient Lightning Spears, this late-game dragon demands high Vigor (40+) and benefits from ranged attacks.
Late-game areas host the most fearsome wyrms. In the Consecrated Snowfield, Great Wyrm Theodorix stands as one of the strongest Magma Wyrms. It features a two-phase battle, can walk on hind legs, and uses unique AoE moves. Clearing the giant crabs from its arena first and fighting from horseback are wise tactics, exploiting its weakness to magic and bleed damage. On the Mountaintops of the Giants, Borealis the Freezing Fog poses a dual challenge with its immense power and the obscuring fog of its arena. This ice dragon inflicts frostbite; consuming Dappled Cured Meat to mitigate this status is essential. A hit-and-run approach on Torrent works best here.
Two dragons are deeply tied to specific quests. The Glintstone Dragon Adula, a magic-infused foe, is encountered twice: first guarding Ranni's Rise, and later at the Cathedral of Manus Celes after completing Ranni's questline. Watch for its signature moonblade sweep and counter with lightning or bleed. Finally, the ultimate challenge awaits in Crumbling Farum Azula: Dragonlord Placidusax. This legendary dragon, fought by entering a time loop, is a brutal test of skill, wielding both ancient lightning and fire. Torrent is unavailable here, demanding careful attribute allocation, proper armor, and talismans. Mastery of its moveset through observation and patience is the only path to victory against the king of all dragons. ⚡️🐉
| Dragon Name | Key Location | Primary Weakness/Strategy |
|---|---|---|
| Flying Dragon Agheel | Limgrave | Piercing Damage, Hit & Run |
| Magma Wyrm | Gael Tunnel, Caelid | Strike Damage, Stay at Legs |
| Decaying Ekzykes | Southern Caelid | Fire/Bleed, Avoid Scarlet Rot |
| Glintstone Dragon Smarag | Liurnia of the Lakes | Lightning Damage |
| Dragonlord Placidusax | Crumbling Farum Azula | Learn Moveset, No Torrent |
Conquering these magnificent beasts is a hallmark of a true Elden Lord. Each victory not only grants precious runes and unique items like Dragon Hearts for incantations but also the unparalleled satisfaction of overcoming the Lands Between's most awe-inspiring rulers. Their roars will echo long in memory, a testament to battles fought and won.